This article is a guide about the Resistor. We will explain how it works, where it is used, and walk through an Arduino example you can use in your own projects.
Resistors are one of the simplest parts in electronics, but they are also one of the most important.
Description
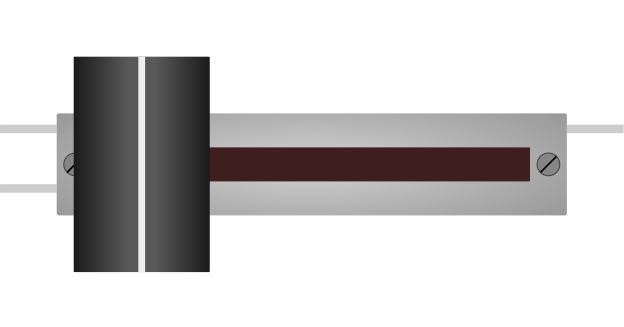
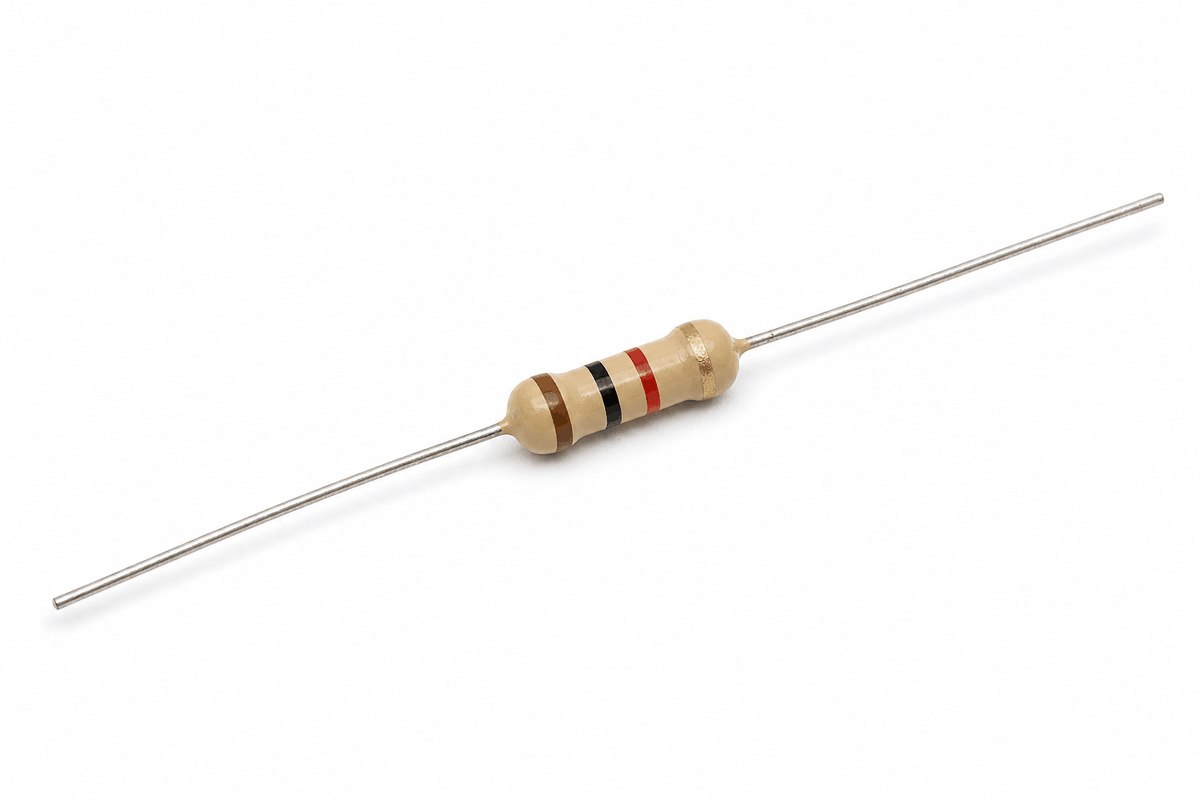
A resistor is a passive two-terminal component that resists the flow of current. It does not create power or switch on by itself. Instead, it shapes how current and voltage behave inside a circuit.
That simple job makes resistors useful everywhere: LED circuits, pull-up and pull-down inputs, voltage dividers, sensor modules, timing circuits, and many other Arduino projects. Even if the part looks small, it often decides whether the rest of the circuit behaves safely and predictably.
Resistors come in many values, usually measured in ohms. A larger value resists current more strongly, while a smaller value allows more current to pass. Choosing the right value is often the difference between a stable circuit and one that behaves strangely.
Features
Here are the main things to know about a resistor:
| Feature | What it means |
|---|---|
| Two terminals | Has one connection on each end. |
| Resistance value | Measured in ohms and marked by color bands or print. |
| Current limiting | Helps protect LEDs and other parts from too much current. |
| Voltage dividing | Can help create a lower voltage from a higher one. |
| Pull-up / pull-down | Keeps digital inputs from floating. |
| Beginner friendly | One of the first parts people learn to use. |
The most useful habit is to think of the resistor as a control part. It often decides whether an LED stays safe, a sensor reading stays stable, or a digital input stays readable.
How Does It Work?
A resistor limits current by opposing the flow of electricity. When current passes through it, some voltage is dropped across the resistor, and the rest is left for the other parts in the circuit.
That is why resistors are so common with LEDs. They keep the LED current at a safe level, so the light stays steady instead of burning out too quickly. They are also used in voltage dividers, where two resistors split the voltage into a value the Arduino can read.
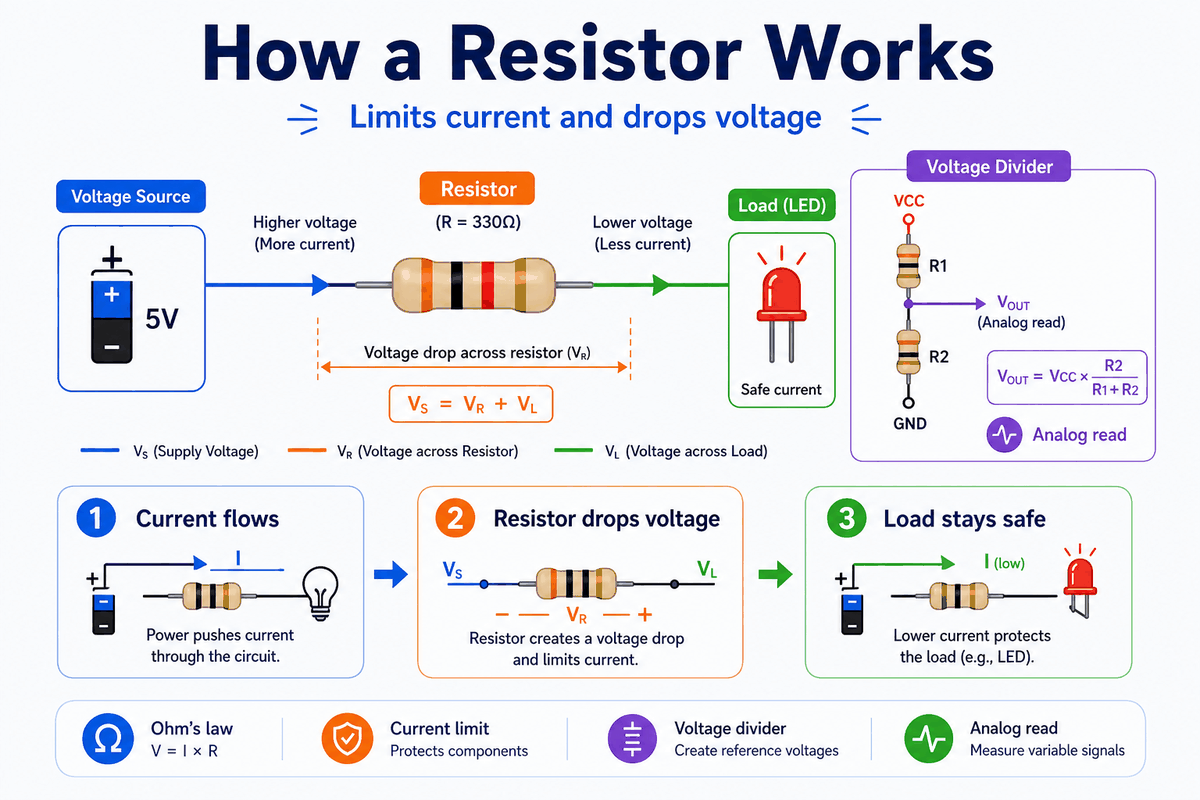
Ohm's Law
The main relationship is called Ohm's law: V = I × R. If you know two of those values, you can estimate the third. That makes resistor selection much easier when you are designing a circuit because you can check the current before anything gets too hot.
Voltage Divider
Two resistors in series can create a measured voltage at the middle point. The Arduino can read that point as an analog value, which is why voltage dividers are useful with sensors and input circuits. This is the same idea behind many simple sensor modules.
Common Used Project
Resistors are usually not the main part of a project. They are the part that makes the main component behave correctly. That is why they show up next to LEDs, buttons, sensors, and analog inputs so often.
| Use case | Usually paired with | Why it matters |
|---|---|---|
| LED protection | LED | Limits current so the LED and Arduino pin stay safe. |
| Button input | Pushbutton | Keeps the input from floating when the button is not pressed. |
| Sensor divider | Photoresistor, thermistor | Turns resistance changes into a readable voltage. |
| Voltage scaling | Any analog input | Helps match a signal to the Arduino reading range. |
| Pull-up / pull-down | Switches and inputs | Gives the pin a stable default state. |
A resistor becomes especially useful when you combine it with a part that changes state or changes resistance. In that setup, the resistor is what keeps the circuit stable, readable, and safe. Without it, the result is often a floating input, a dim LED, or a part that runs hotter than it should.
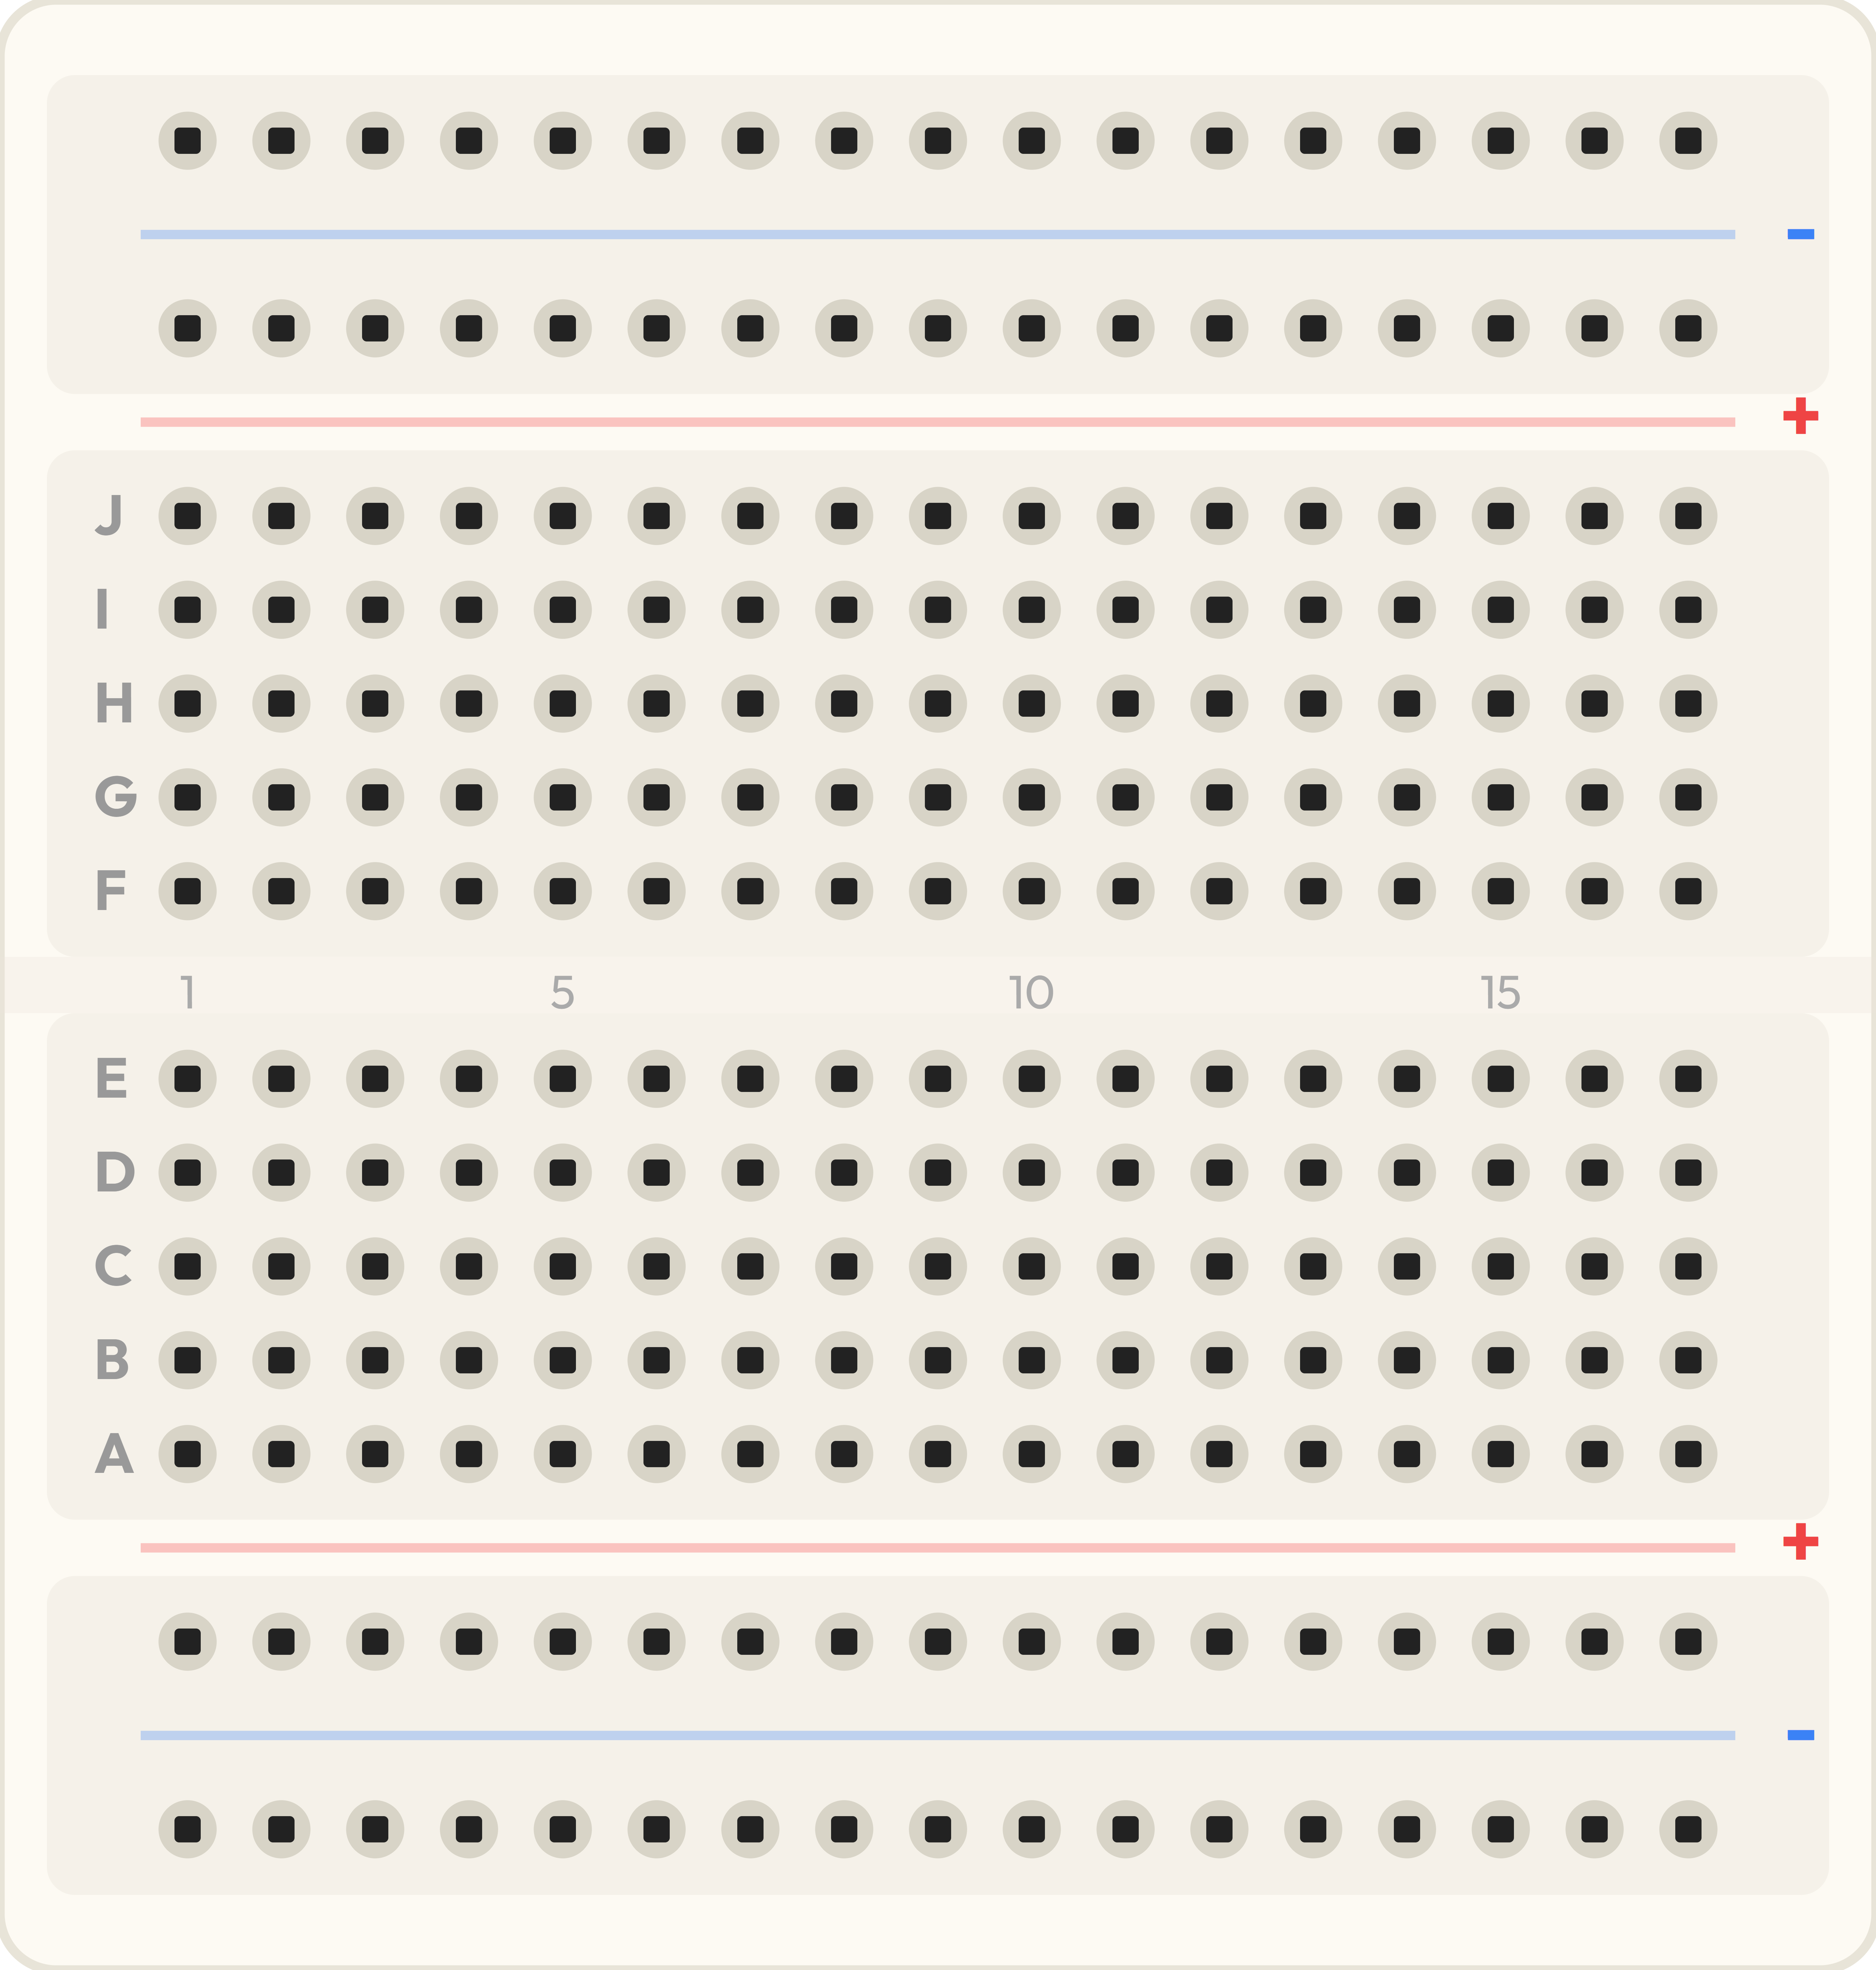
Connections
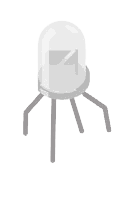
The simulator resistor exposes just two pins: 1 and 2. Like a real resistor, it can be placed in either direction because it has no polarity.
In an Arduino project, a resistor usually sits between the microcontroller pin and the part being controlled, such as an LED, or between a signal line and power or ground when used as a pull-up or pull-down. That placement is what makes the circuit behave predictably.
| Pin | Meaning |
|---|---|
1 | One terminal |
2 | The other terminal |
Code
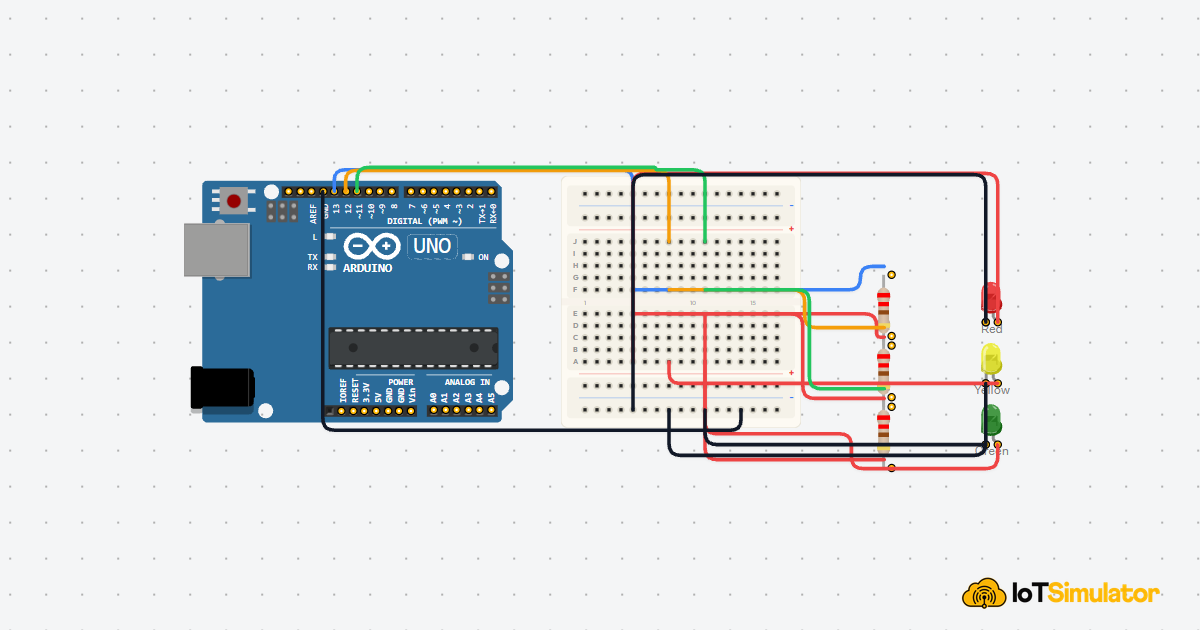
This example shows a common resistor use case: driving an LED through a current-limiting resistor. The resistor itself is passive, but the code helps you test the circuit it protects.
In the circuit, the resistor sits in series with the LED. The code only turns the pin on and off, but the resistor makes that on-state safe for the LED and the Arduino pin.
How The Code Works, Part By Part
Let's break the sketch into smaller pieces so the LED test is easier to follow and easier to modify later.
Pin Setup
The sketch chooses the LED pin and sets it as an output. That tells the Arduino it should drive a component instead of reading one.
Turn On
When the pin goes HIGH, current flows through the resistor and the LED. The resistor limits that current so the LED can light safely.
Turn Off
When the pin goes LOW, the current path is removed and the LED turns off.
Repeat
The loop repeats the on and off pattern so you can see the LED blinking through the resistor circuit.
Wrapping Up
The resistor is a small part, but it changes how the whole circuit behaves. That is why it shows up in so many beginner projects even though it looks simple.
Once you understand current limiting, voltage division, and pull-up / pull-down behavior, you can choose the right value instead of guessing. That makes the next LED, button, or sensor project easier to wire and easier to debug.