This article is a guide about the LCD1602. We will explain what kind of display it is, how its character cells work, how it is wired to Arduino, and how the LiquidCrystal library sends text to the screen. By the end, you should know how to make the module show messages, counters, and simple live readings in your own projects.
The LCD1602 is a good choice when you want the circuit itself to give feedback instead of relying only on Serial Monitor. It works especially well for beginner dashboards, small menus, and sensor projects where a short label and value are enough to understand what is happening.
Description
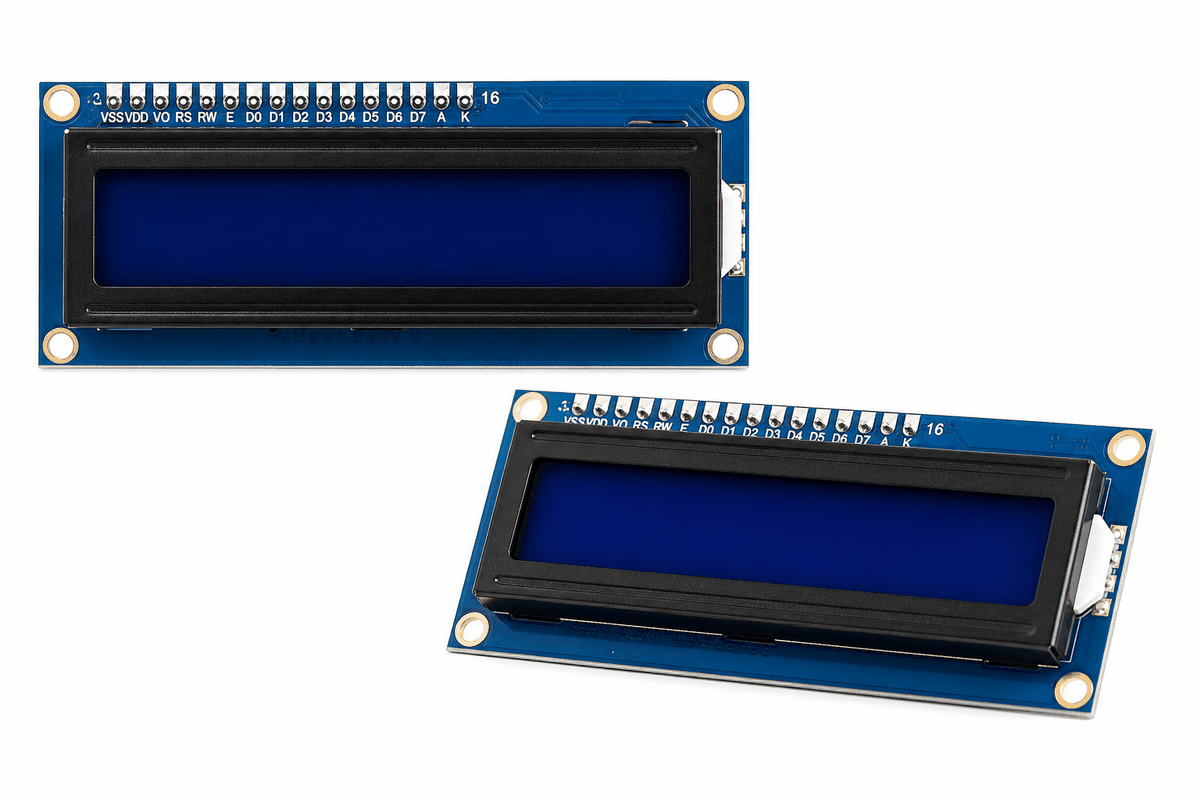
The LCD1602 is a character display with two rows and sixteen columns. It is built around the HD44780 display controller, which is one of the most common controller families for text-based LCD modules.
Because the screen is made of character cells instead of pixels, it is best for messages, counters, menus, timers, and sensor values. The LCD1602 is usually enough when you only need one short label and one live value.
Many LCD1602 modules also include a backlight and a contrast pin. If the contrast is too low, the screen can look almost empty even though the Arduino is sending text.
If the LCD1602 looks blank, the code is not always the problem. Very often the contrast pin or backlight wiring is the real issue.
The LCD1602 is the smaller half of the LCD pair in this guide. If you need longer labels, a second status line, or a few more live values, the LCD2004 gives you the same style with more room.
The LCD1602 and LCD2004 are closely related. If you want the same idea with more rows, read the LCD2004 article and compare the layout side by side.
Features
Here are the main things to know about the LCD1602:
| Feature | What it means |
|---|---|
| 16x2 layout | Shows 16 characters on each of 2 lines, which fits short labels and values without taking much board space. |
| Character-based | Displays fixed text cells instead of graphics, so it is better for readings and messages than for icons or images. |
| HD44780 compatible | Uses the command style supported by the Arduino LiquidCrystal library. |
| Adjustable contrast | Uses the V0 pin to tune text visibility when the characters look too faint or too dark. |
| Backlight support | Helps the screen stay readable in dim light, especially when the display is mounted inside a project box. |
| Beginner friendly | Works well in starter projects where one short label and one live value are enough. |
The module gives the project a clear text output without needing a separate serial console.
How Does It Work?
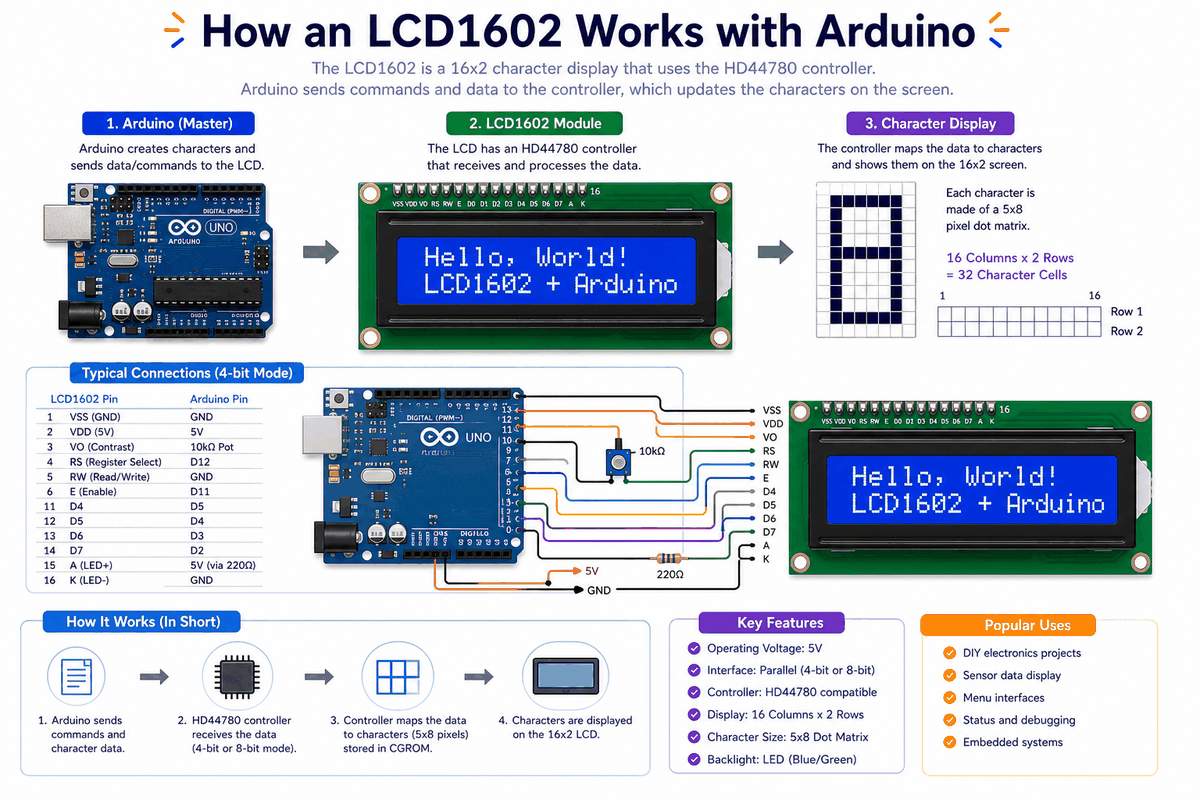
The LCD1602 shows information by turning selected character cells on and off inside the controller's built-in display map. The Arduino sends commands and data, and the controller converts that information into visible characters on the screen.
When the sketch tells the display to move the cursor, clear the screen, or print text, the controller handles the low-level LCD timing internally. The Arduino does not draw every letter pixel by pixel; it only tells the LCD which character to place and where to place it.
In the simulator, the screen updates as the sketch sends new text. Each spot on the screen is one character cell, so the module is a fit for status panels, measurement readouts, and menu screens.
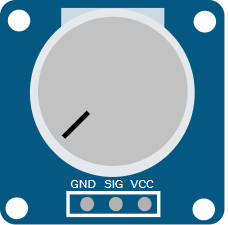
Contrast And Backlight
The contrast pin changes how dark the characters appear against the background. If the text looks too faint or the screen seems blank, contrast is usually the first thing to adjust. The backlight helps the text stay visible, especially in a darker room.
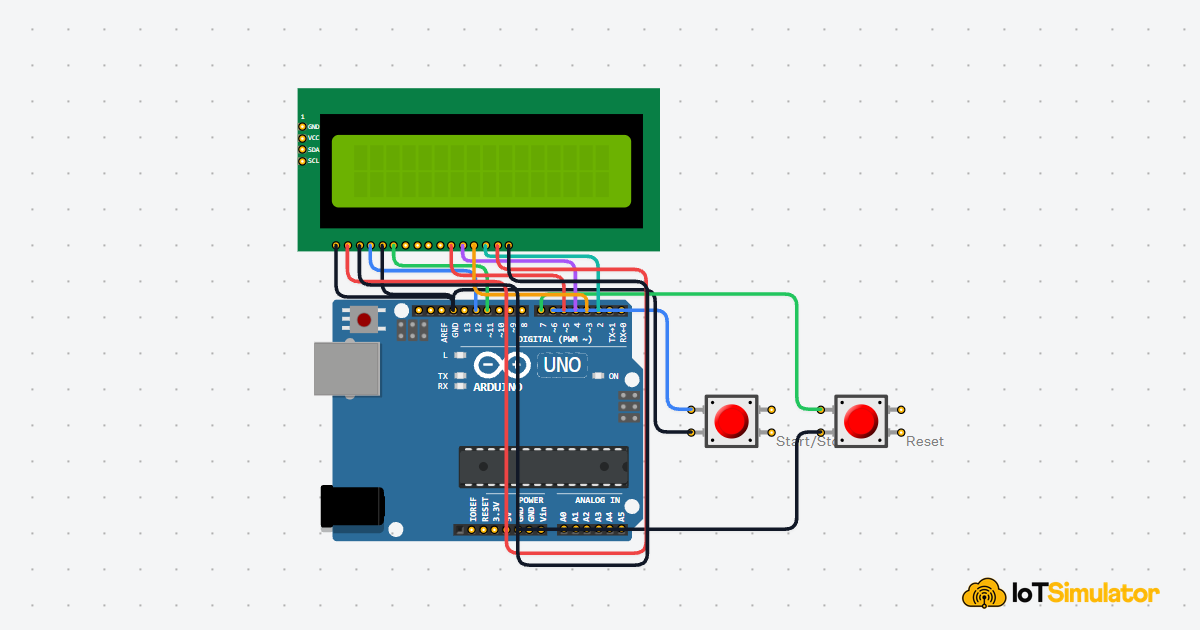
Arduino With LCD1602
The LCD1602 can be wired in a parallel style or with an I2C backpack, depending on the module style you are using. For this article, the circuit preview uses the common 4-bit parallel wiring so you can see how the display behaves with the standard LiquidCrystal library.
That setup shows the important control pins without turning the wiring into a puzzle. It is the version most beginners meet first.

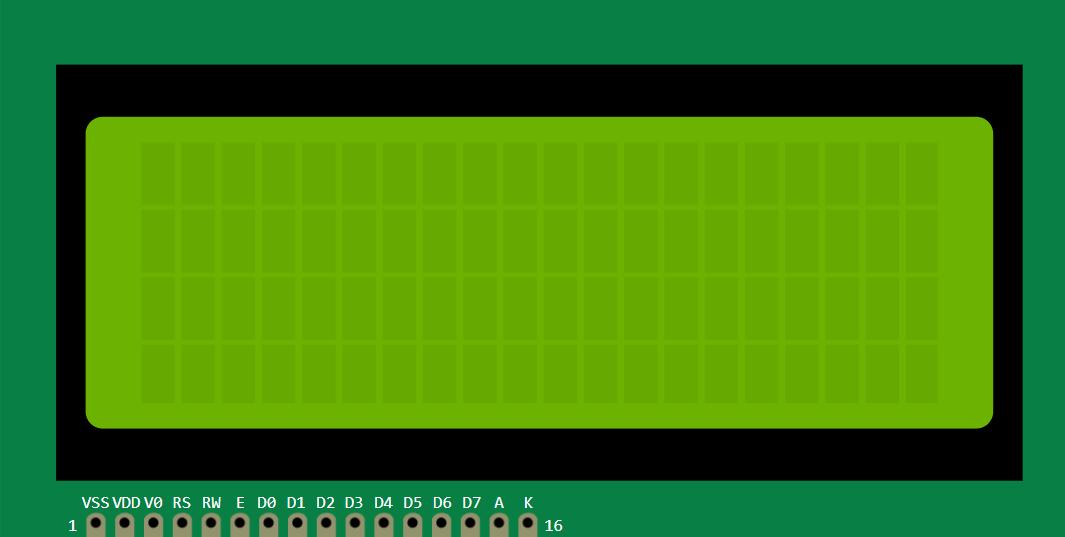
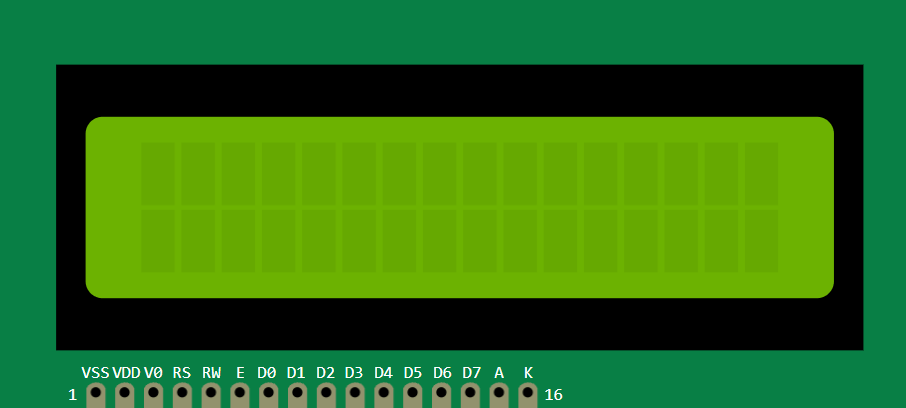
Pin Connection
The pin map below follows the common 4-bit Arduino wiring pattern. If RS or E is wrong, the text appears scrambled or will not update.
Ground reference for the display module.
Powers the LCD controller and logic.
Selects whether the LCD reads data or a command.
Latch signal that tells the LCD to accept the current value.
First data line in 4-bit mode.
Second data line in 4-bit mode.
Third data line in 4-bit mode.
Fourth data line in 4-bit mode.
Backlight anode, usually tied to power.
Backlight cathode, tied to ground.
The shared ground and backlight connections matter more than they first look. If they are wrong, the text may still be there but the screen can look dim or completely blank. That is why LCD wiring often needs a quick contrast check even when the code itself is already correct.
Code
This example prints a short message on the display and updates it periodically. It matches the 4-bit circuit preview, so the library setup and wiring line up.
LiquidCrystal Library
The Arduino LiquidCrystal library is the standard way to control HD44780-compatible text LCDs. In a typical 4-bit setup, you create the display object with the RS, enable, and D4-D7 pins, then call lcd.begin(16, 2) so the library knows the screen size. After that, lcd.print() writes text and lcd.setCursor() moves the output to a specific column and row.
The size in begin() must match the screen you wired, and cursor positions start at 0 for the first column and row.
| Method | What it does |
|---|---|
lcd.begin(16, 2) | Sets the LCD size so the library knows it has 16 columns and 2 rows. |
lcd.print() | Writes text or numbers to the display. |
lcd.setCursor() | Moves the cursor to the chosen column and row before printing. |
lcd.clear() | Erases the screen when you want to refresh the output. |
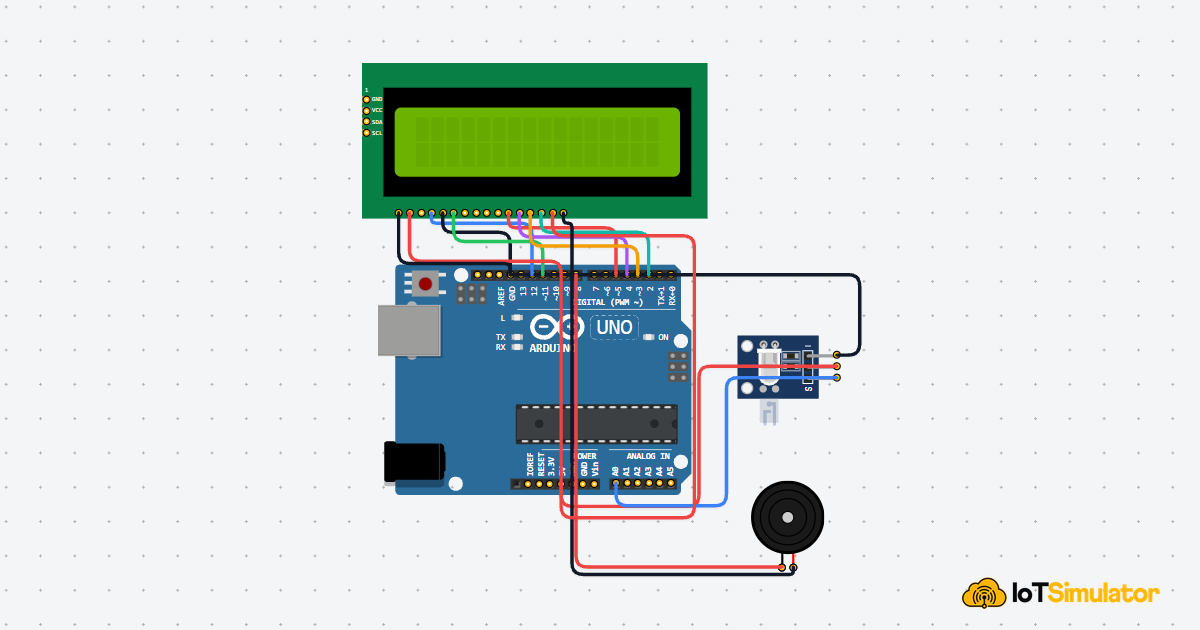
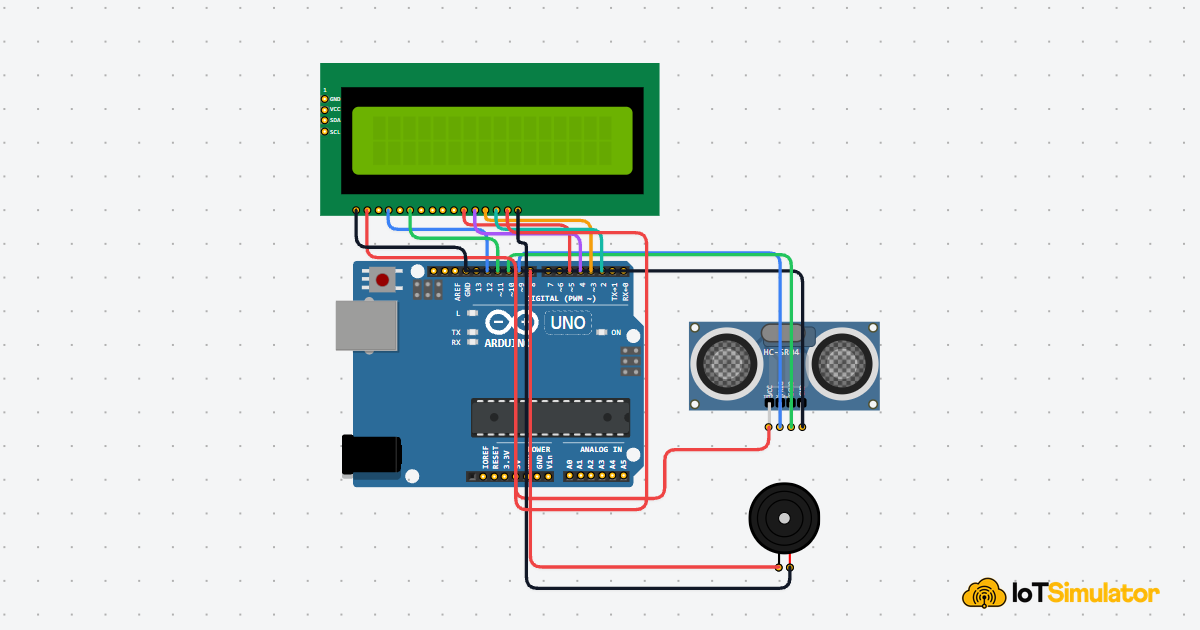
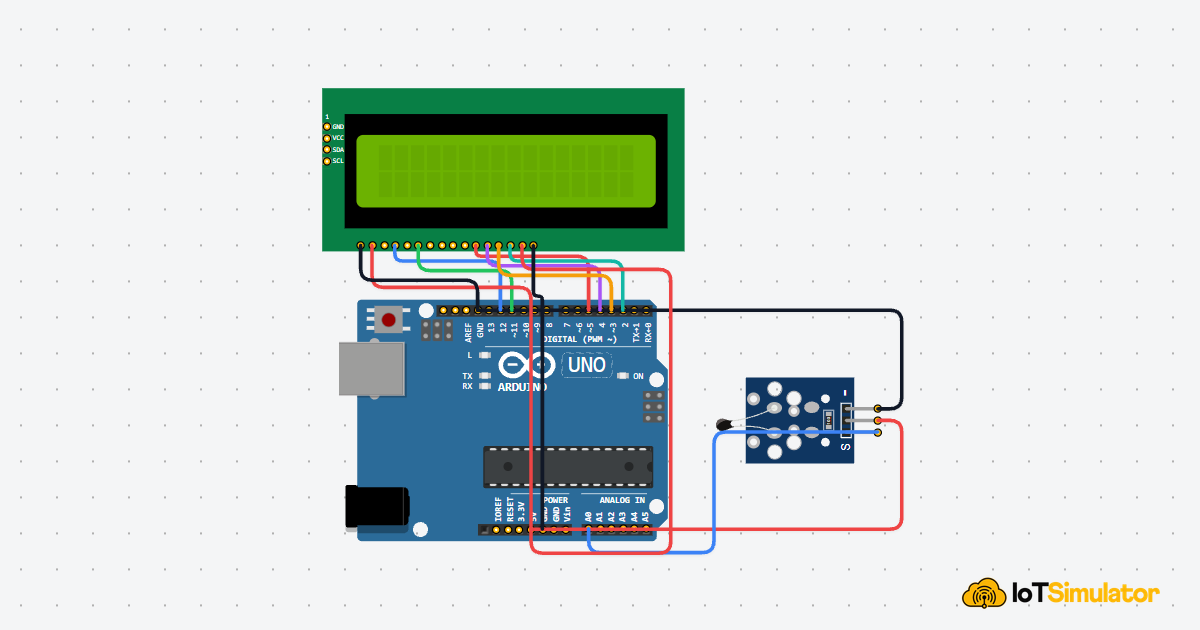
You can replace the counter with a temperature value, a button status, or a sensor reading from another part of your circuit. If the number does not change, the issue is probably in the code or sensor input rather than the display itself.
How The Code Works, Part By Part
Let's break the sketch into smaller pieces so the display workflow is easier to follow and easier to modify later.
Library And Pins
The sketch starts by loading LiquidCrystal and defining the pins used by the display. Those pin numbers tell the library how the Arduino is connected to the LCD module.
Setup
In setup(), the display is initialized with lcd.begin(16, 2). That tells the library the LCD has 16 columns and 2 rows.
Printing Text
The code moves the cursor to the second row and prints a counter. The cursor position starts at zero, so row 1 is the second line on the LCD.
Repeat
The loop updates the counter once per second. The extra spaces after the number are there so old digits do not stay behind when the value gets shorter.
Wrapping Up
The LCD1602 is a practical display when you want readable feedback directly on the circuit.
Once you understand the character rows, contrast control, and basic printing commands, you can use this module in menus, counters, sensor readouts, and other small Arduino interfaces.
If the screen ever looks wrong, contrast, wiring order, and the LCD size in code are the first things worth checking.