This article is a guide about the LCD2004. We will explain what makes it different from smaller character displays, how the controller handles four rows of text, how it is wired to Arduino, and how the LiquidCrystal library is used to print longer messages. By the end, you should know how to build a clean text interface for menus, sensor dashboards, and debug screens.
The LCD2004 is useful when a project needs more room than a 16x2 display can offer. It is a practical option for projects that need several values on screen at the same time, because the extra rows make the layout easier to read and less cramped.
Description
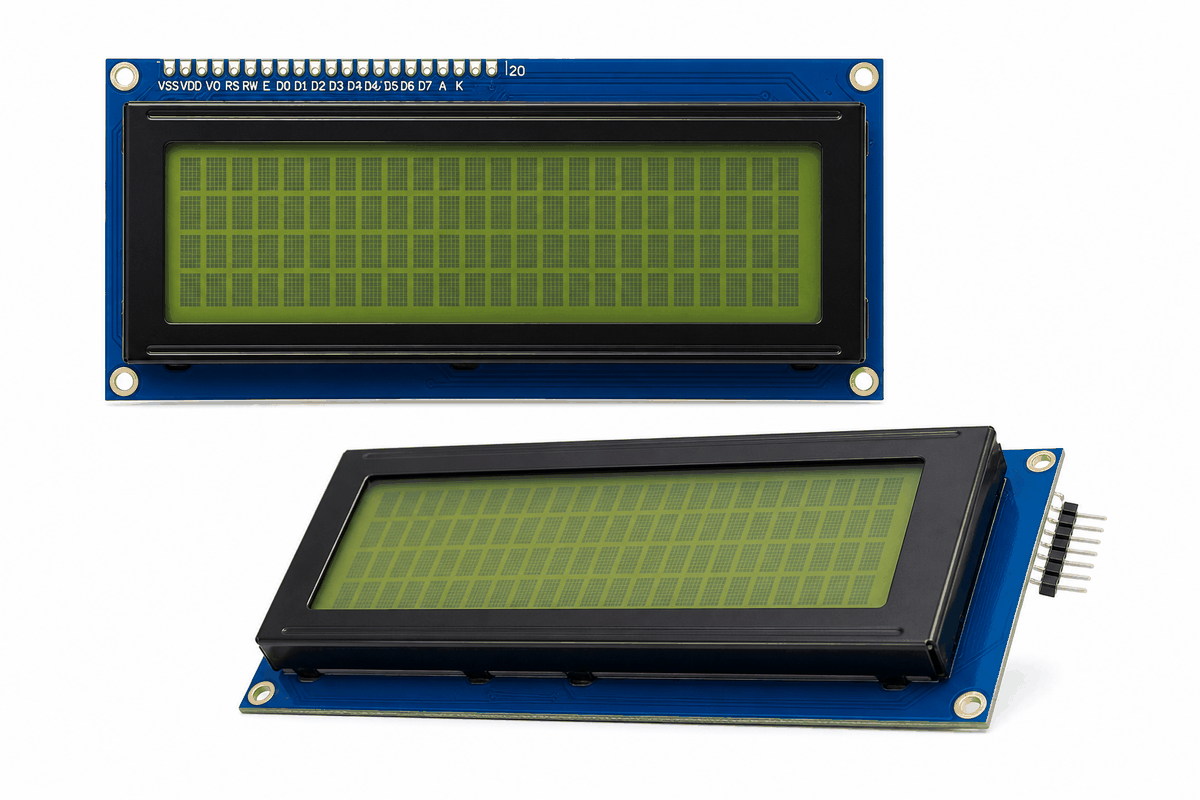
The LCD2004 is a character display with four rows and twenty columns. It uses the same HD44780 style controller family as many smaller LCD modules, which makes it easy to use with the standard Arduino LCD libraries.
Because it has more space than a 16x2 display, it works well for menus, sensor dashboards, debug screens, timers, and other projects that need several lines of text. It still behaves like a character LCD, so it is best for messages and numbers rather than detailed graphics.
The screen also includes a contrast input and a backlight. If the contrast is not tuned properly, the text can look washed out or too dark to read comfortably.
A larger LCD does not automatically feel better. It only feels better when the extra rows are used for clearer information instead of repeated text.
The LCD2004 is the larger half of the LCD pair in this guide. It keeps the same text-based style as the LCD1602, but the extra rows give you more room for a title, live value, and status line.
The LCD2004 and LCD1602 share the same family idea. If you only need a smaller text screen, the LCD1602 article is the best place to compare the simpler layout.
LCD2004 vs LCD1602
The LCD2004 and LCD1602 belong to the same display family, so they share the same basic way of sending text and commands. The real difference is how much room you get on the screen. LCD1602 is compact and simple, while LCD2004 gives you more rows and more breathing space for longer labels.
That extra space matters when a project needs more than one piece of information at a time. On a small sensor project, LCD1602 often feels enough for a short value and label. On a dashboard or menu, LCD2004 is easier to read because the extra lines reduce crowding.
| Display | Best for | Main advantage |
|---|---|---|
| LCD1602 | Short messages, counters, simple menus | Smaller, compact, and easy to wire |
| LCD2004 | Longer messages, dashboards, multi-line status | More rows and more readable layout |
Both displays use the same LiquidCrystal workflow. The main difference is the size you pass to lcd.begin(): use lcd.begin(16, 2) for LCD1602 and lcd.begin(20, 4) for LCD2004.
Choose LCD1602 when the interface is simple. Choose LCD2004 when you need more text on screen without moving to a graphic display.
Features
Here are the main things to know about the LCD2004:
| Feature | What it means |
|---|---|
| 20x4 layout | Shows twenty characters on each of four lines. |
| Character-based | Ideal for messages, counters, and menus. |
| HD44780 compatible | Works with the LiquidCrystal library family. |
| More space | Lets you show more information than a 16x2 screen. |
| Contrast control | Uses the V0 pin to keep text readable. |
| Backlight support | Helps the display stay visible in different lighting conditions. |
The most useful part of the LCD2004 is the extra room. You can fit a label, a number, and a short status note on separate lines.
How Does It Work?
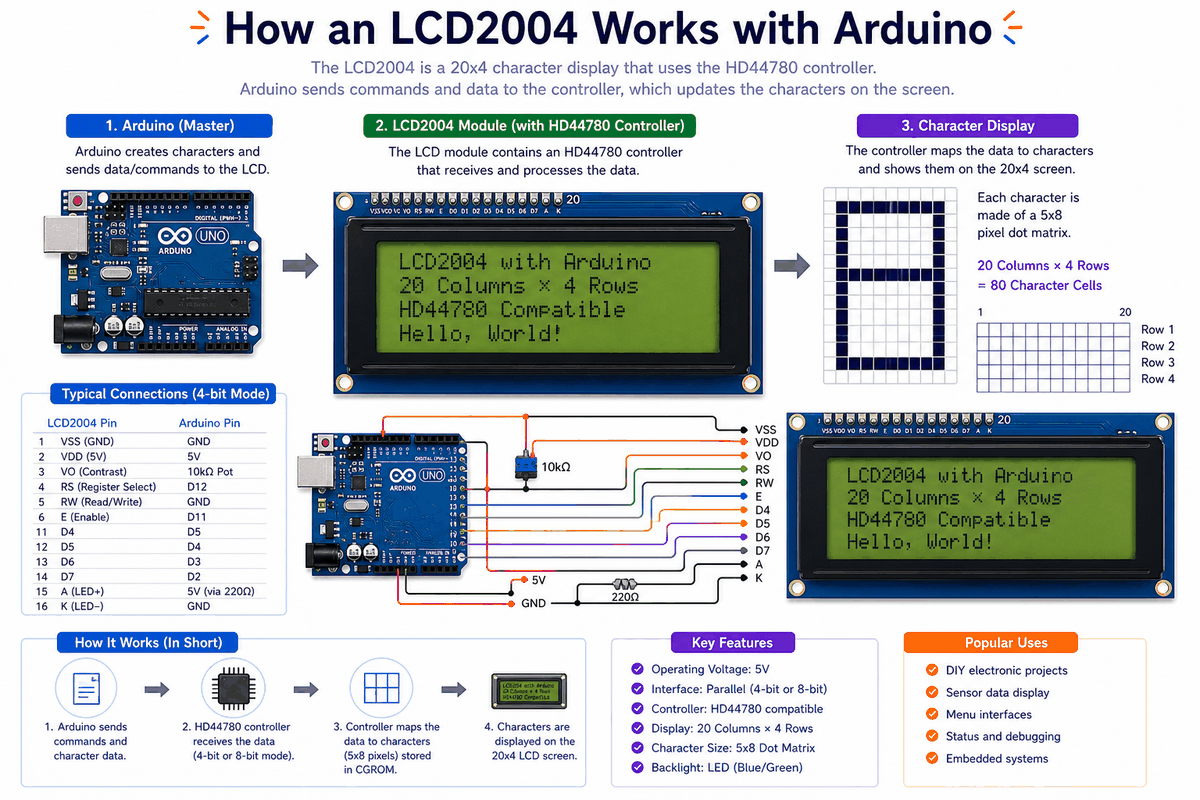
The LCD2004 works by turning the Arduino's text and control commands into visible characters on a four-line screen. The controller inside the module manages the character cells, cursor position, and display memory so the sketch can focus on what to show rather than how the LCD hardware works internally.
When the Arduino sends text, the controller places those characters into the correct row and column. The module maps each command into the right line, so menus, debug values, and sensor information stay organized.
The four rows let you separate title, reading, and status instead of stacking everything onto one or two lines.
In the simulator, the text updates make it easy to see how the controller handles several rows at once. You can put a title on one line, a value on another, and a status note below it without forcing everything to fight for space.
Each row can hold twenty characters, so the screen gives you room for longer labels and more complete messages.
Contrast And Backlight
Just like a 16x2 display, the contrast pin affects how dark the characters appear. If the letters look too faint or too dark, adjusting contrast is usually the first thing to do.
Arduino With LCD2004
The LCD2004 can use a parallel connection or an I2C backpack, depending on the module style. For this article, the circuit preview uses the standard HD44780 pin set so you can understand the display in the most common wiring style.
As with other HD44780 LCDs, many projects only use the 4-bit wiring mode to reduce the number of pins required. The tradeoff is a little more wiring, but the module stays easy to control from the standard Arduino library.

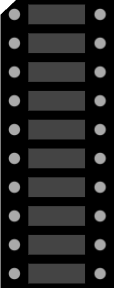
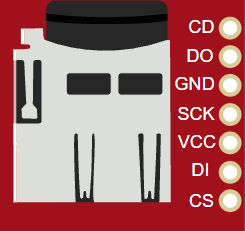
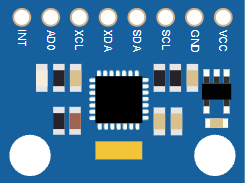
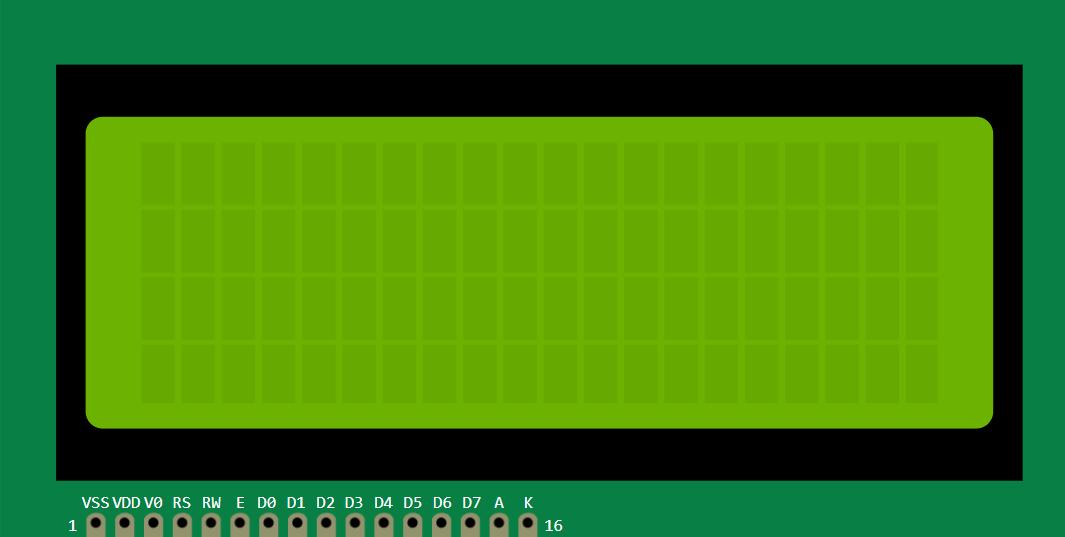
Pin Connection
The pin map below follows the common 4-bit Arduino wiring pattern. If the data lines are crossed, the screen may still light up but the characters will not appear correctly.
Ground reference for the display module.
Powers the LCD controller and logic.
Selects whether the LCD reads data or a command.
Latch signal that tells the LCD to accept the current value.
First data line in 4-bit mode.
Second data line in 4-bit mode.
Third data line in 4-bit mode.
Fourth data line in 4-bit mode.
Backlight anode, usually tied to power.
Backlight cathode, tied to ground.
The shared ground and backlight connections matter more than they first look. If they are wrong, the screen can look dim or completely blank.
Code
This example prints a short message on the display and updates it periodically. It matches the 4-bit circuit preview, so the library setup and wiring agree.
Because the screen has four rows, you can split information in a way that feels clearer than a smaller LCD. That makes it easier to show both a value and a label on the same display.
How The Code Works, Part By Part
Let's break the sketch into smaller pieces so the display workflow is easier to understand and easier to modify later.
Library And Pins
The sketch starts by loading LiquidCrystal and defining the display pins. Those pin numbers tell the library how the Arduino is connected to the LCD module.
Setup
In setup(), the display is initialized with lcd.begin(20, 4). That tells the library the screen has twenty columns and four rows.
Printing Text
The sketch uses setCursor() to move around the screen and print several lines of information. Row indexes start at zero, so setCursor(0, 3) targets the fourth line at the bottom of the display.
Repeat
The loop updates the counter once per second. Because the rest of the text stays in place, the update feels smooth instead of flashing the whole screen.
Wrapping Up
The LCD2004 is a practical way to show more text in a circuit without needing a graphical display.
Once you understand the row layout, the contrast control, and the printing commands, you can use this module in menus, debug panels, sensor dashboards, and other small Arduino interfaces.
If the project needs more room than a 16x2 screen, the LCD2004 is usually the cleaner next step. When the wiring is right and the row count matches the code, it behaves like a dependable small status panel.