This article is a guide about the Servo. We will explain how it works, show how to wire it to an Arduino, and walk through a simple sweep example you can reuse in your own projects.
Servos are useful when a project needs controlled movement rather than simple on/off behavior.
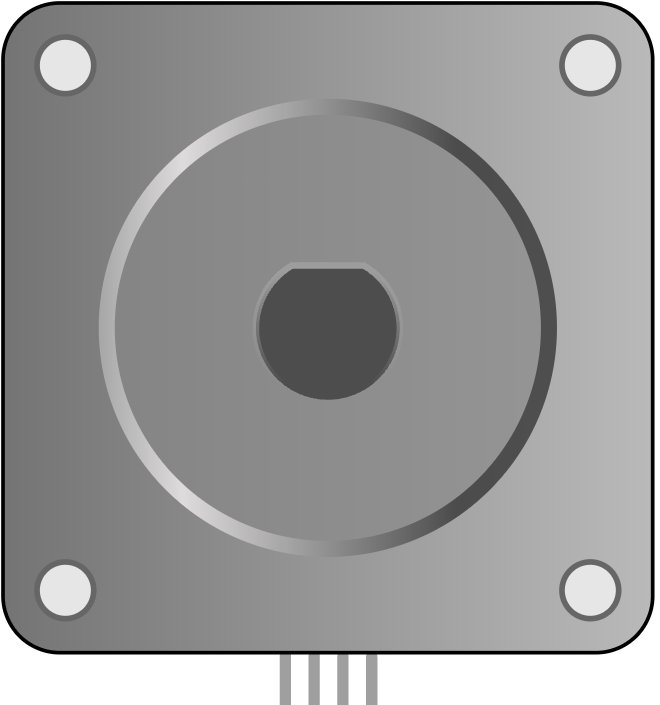
Description
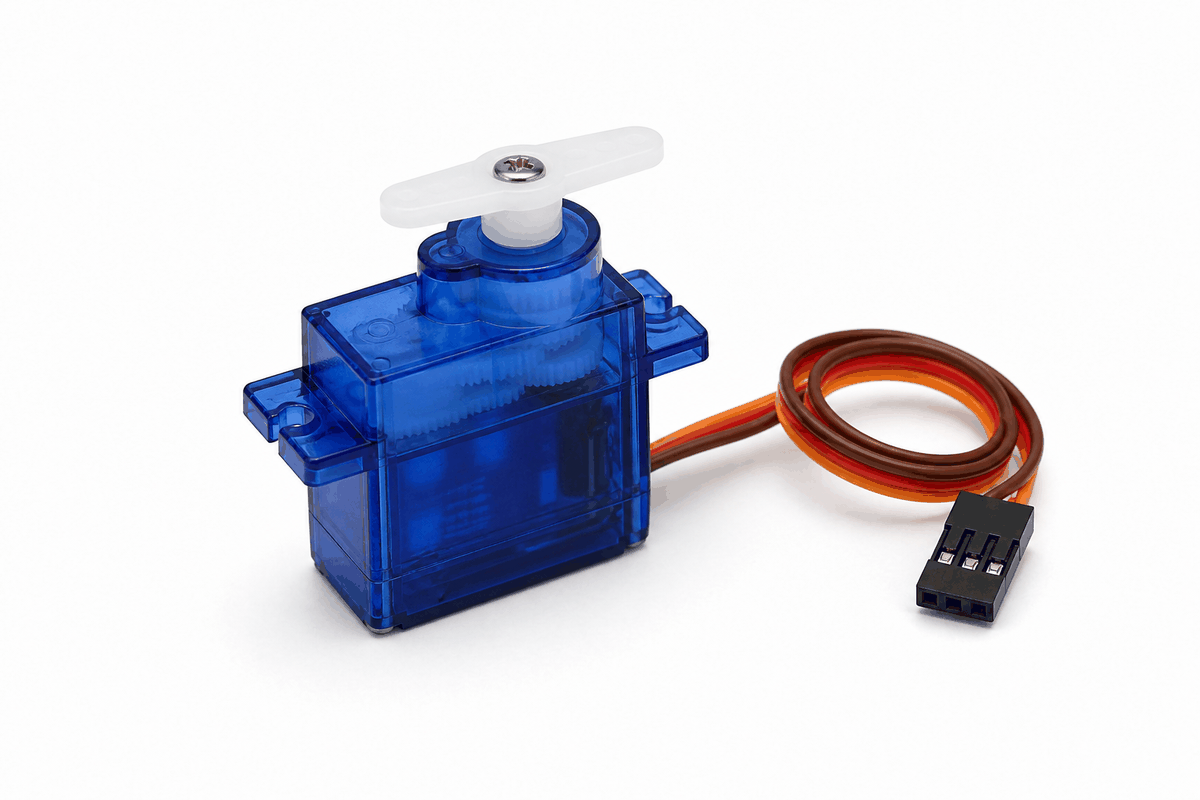
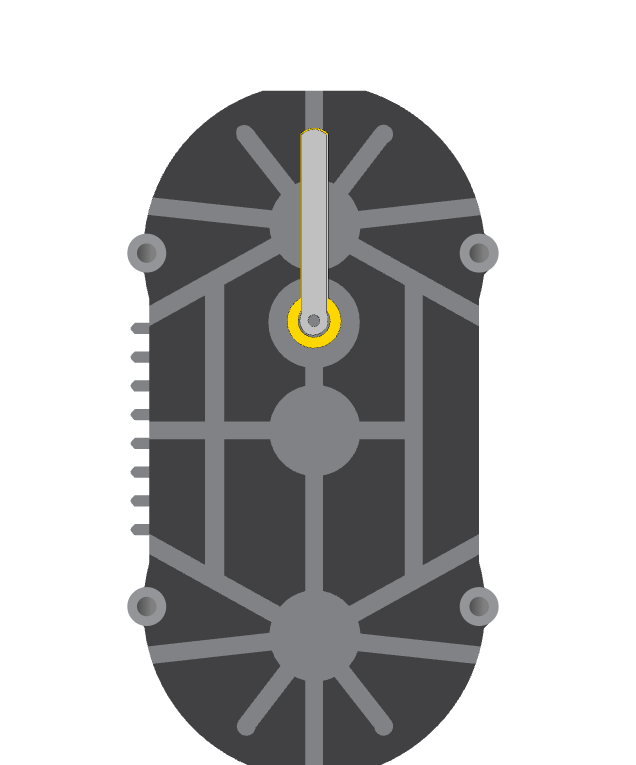
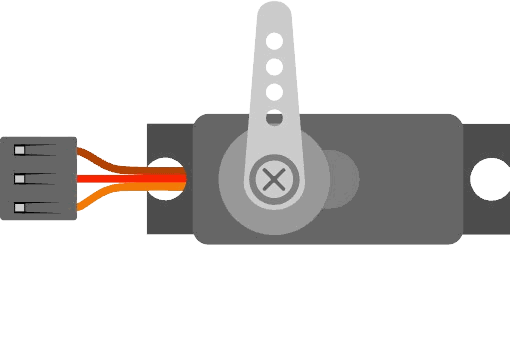
A servo motor is a small actuator that moves to a chosen angle. Instead of spinning forever like a DC motor, it usually aims for a position between 0 and 180 degrees and then holds that position.
That makes it ideal for projects that need accurate movement, such as a pointer, a door latch, a robot joint, or a camera mount. The Arduino sends a position command, and the servo converts that command into a visible physical motion.
Features
Here are the main things to know about the Servo:
| Feature | What it means |
|---|---|
| Position control | The servo moves to a target angle instead of spinning freely. |
| Simple command style | The Arduino only needs one signal pin and the Servo library. |
| Three-wire connection | Most servos use power, ground, and one control line. |
| Useful range | Typical sweep range is about 0 to 180 degrees. |
| Interactive motion | Great for arms, levers, pointers, and small mechanisms. |
| Holding torque | Can stay at a chosen angle instead of relaxing immediately. |
The important part is that the response is visible and predictable. Press a button, move a slider, or change a sensor value, and the servo reacts in a way the user can actually see.
How Does It Work?
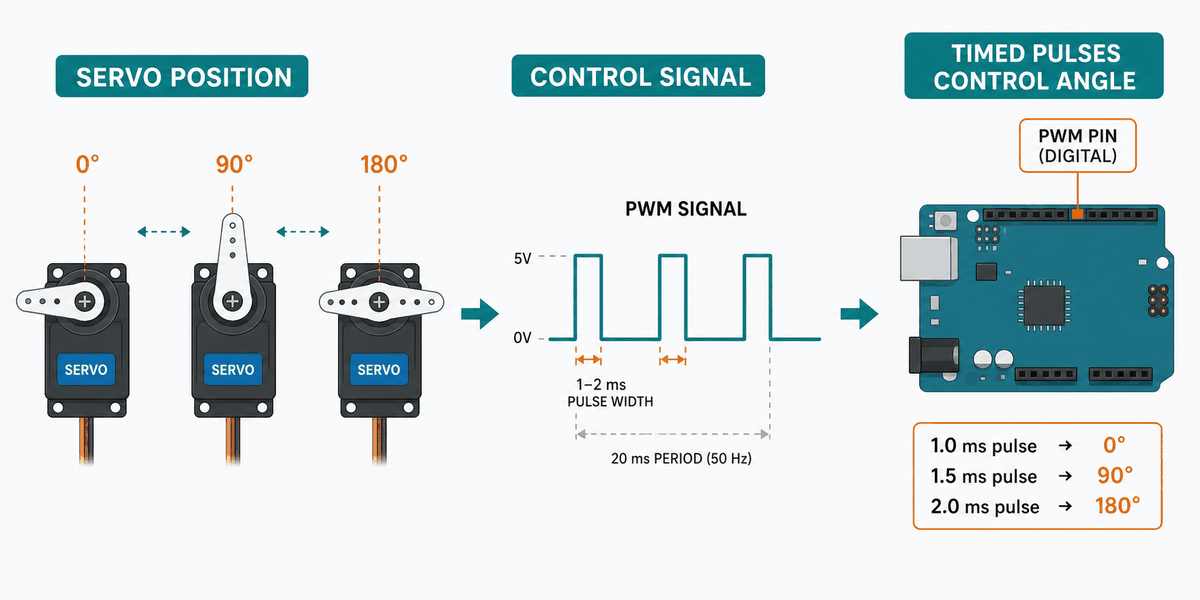
A servo receives a timed control pulse from the Arduino. Inside the servo, a small controller reads that pulse and moves the motor until the output shaft reaches the requested angle. That is why a servo can hold a position instead of just free-spinning.
In a beginner project, the important idea is simple: the angle you write becomes the angle you see. If the sketch asks for 90 degrees, the horn moves near the middle. If it asks for 0 or 180, the horn moves toward the ends.
The servo is not reading a value like an analog sensor. It is following a position command, which makes it ideal for doors, pointers, robot joints, and any project that needs controlled movement.
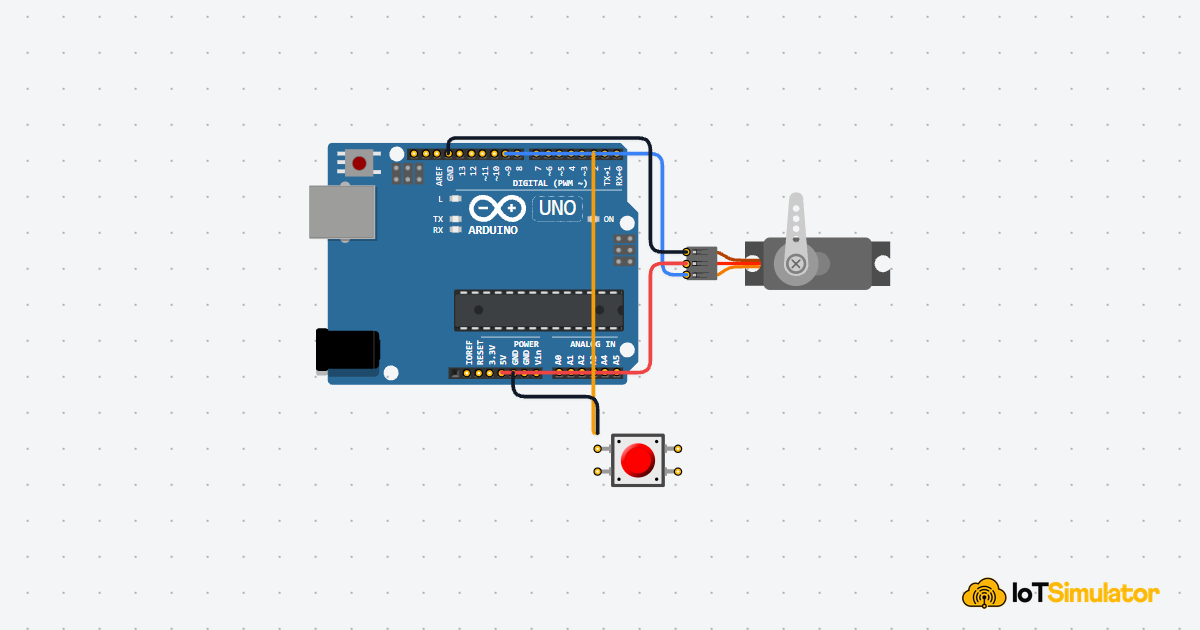
Arduino With Servo
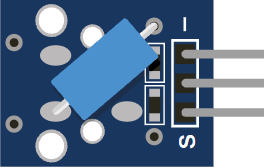
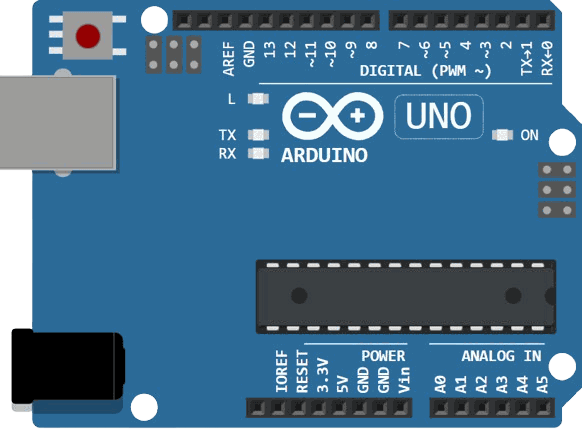
This circuit preview shows the servo connected to Arduino Uno with one control line, power, and ground. It is the standard setup for learning servo motion because the wiring is simple and the movement is easy to see.

Pin Connection
The pin map below matches the circuit preview. One signal pin tells the servo where to move, while power and ground keep the motor running safely.
Carries the control signal that sets the servo angle.
Provides power for the servo motor.
Shares the ground reference with the Arduino.
For small servos in a simple demo, the Arduino 5V pin may be enough. For larger or real-world servo setups, an external supply is often better, as long as the grounds are shared.
Code
This example sweeps the servo back and forth between a few angles. It is a classic first test because it makes the movement easy to see and confirms that the wiring is correct.
Once the servo responds to that simple sweep, you can replace the fixed angles with sensor readings, button presses, or a menu control. That is where servos become useful in real projects instead of just demo motion.
How The Code Works, Part By Part
Let's break the sketch into smaller pieces so the flow is easier to understand and easier to modify later.
Setup
The setup block includes the Servo library and attaches the servo to pin 9. This is where the Arduino tells the library which output pin will carry the motion command.
Write An Angle
This part sends the position command. When the sketch writes 0, 90, or 180, the servo moves the horn toward that angle.
Repeat
The loop keeps the movement pattern running so you can clearly see that the servo is responding to code. In a real project, you would usually replace the repeating sweep with logic based on input or state.
Wrapping Up
The Servo is a great way to turn Arduino code into controlled movement. It is easy to wire, easy to test, and easy to reuse in robots, pointers, small arms, and other interactive projects. It gives you a direct link between code and motion, so debugging is usually straightforward.
Once you understand how the angle command works, you can make the servo respond to almost any sensor or button in your project. That makes it one of the most practical beginner actuators to learn early.