This article is a guide about the Slide Potentiometer. We will explain what it does, how it creates a changing analog value, how to wire it, and how to read it from Arduino code.
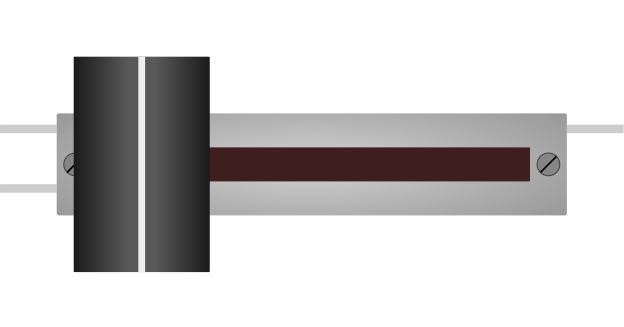
Slide potentiometers are useful when a project needs a user-controlled value that feels like a slider instead of a rotary knob.
If you want the basic knob-style version first, see the main Potentiometer guide. It covers the same voltage-divider idea with a rotary control instead of a slider.
Description

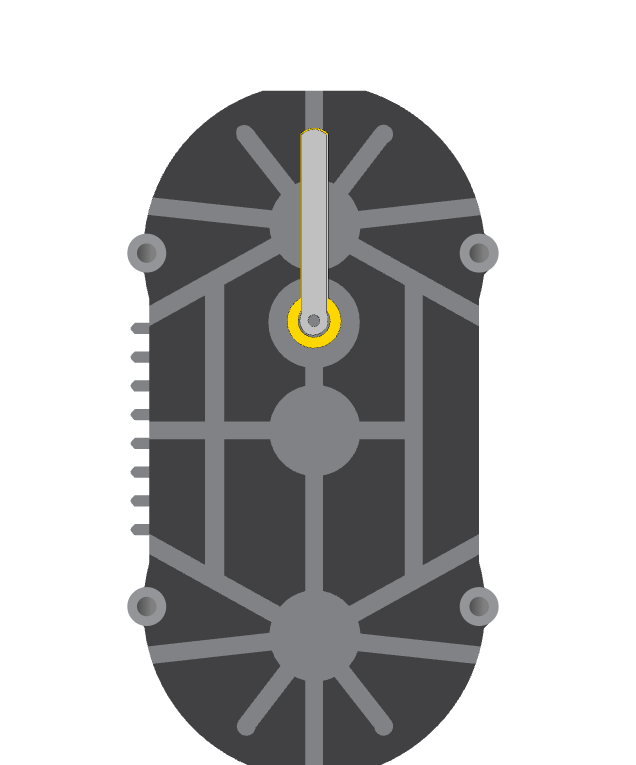
The slide potentiometer is a linear variable resistor. When you move the slider, the resistance changes and the middle pin outputs a voltage that changes with position. That makes it a classic analog input part, just like a rotary potentiometer, but with a straight travel motion.
Arduino reads that changing voltage as a value between 0 and 1023 on a 10-bit analog input. Because the movement is linear, the slider feels very natural in projects such as audio faders, brightness controls, menu selectors, and calibration tools.
It is also a great teaching part because you can see the slider position and the serial value change at the same time, which makes the analog idea easier to understand.
Features
Here are the main things to know about the Slide Potentiometer:
| Feature | What it means |
|---|---|
| Linear motion | The output changes as you move the slider left or right. |
| Analog output | The center pin gives a voltage the Arduino can read. |
| Easy to read | Works directly with analogRead(). |
| Good control feel | Useful for faders, sliders, and live adjustment interfaces. |
| Beginner friendly | Simple wiring and easy-to-see behavior. |
The important part is that the slider gives you a smooth value change instead of just a switch-like on or off state. That makes it easier to tune brightness, volume, speed, or any other setting that should move gradually.
How Does It Work?
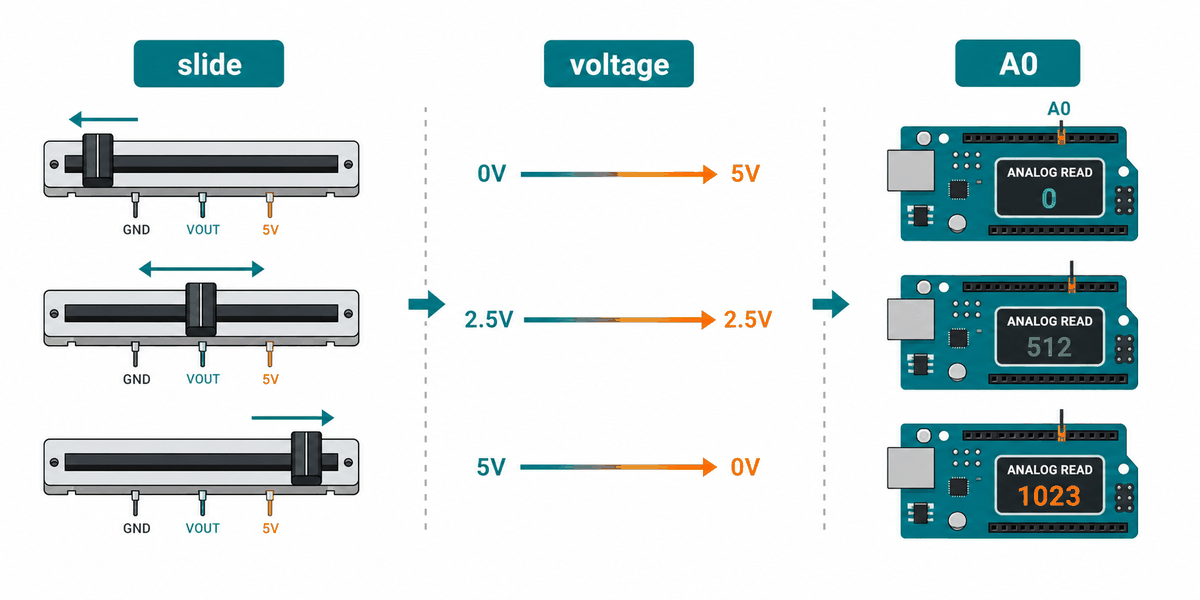
The slide potentiometer works as a voltage divider. The two outer pins connect to power and ground, and the middle pin moves along the track to produce a changing output voltage.
That moving contact is what turns the physical slider position into a value the Arduino can read. Slide it one way and the number rises. Slide it the other way and the number falls.
Because the motion is linear, the control feels very intuitive when you want to set a level, choose a range, or move something gradually in code.
Voltage Divider
The slider is really just a moving wiper on a resistive track. The wiper picks a point between the supply voltage and ground, and that point becomes the output signal.
Analog Range
On an Arduino Uno, the analog input value typically ranges from 0 to 1023. That range makes it easy to map the slider into brightness, volume, speed, or any other project value.
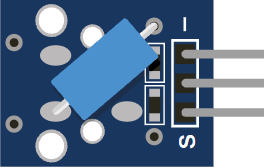
Arduino With Slide Potentiometer
This circuit preview shows the slide potentiometer connected to Arduino Uno. It is the standard setup for learning analog input because the slider gives a direct voltage change that the Arduino can read right away.

Pin Connection
The pin map below matches the circuit preview. One pin powers the slider, one pin shares ground, and one pin sends the changing analog value back to the Arduino.
Supplies power to the slide potentiometer.
Carries the changing analog voltage from the slider.
Shares the ground reference with the Arduino.
With this wiring, you do not need a special library. The Arduino only needs analogRead() to measure the slider position.
Code
This example reads the slider and prints the value to Serial Monitor so you can see the position change in real time.
Once that works, you can use the value to control brightness, sound, animation speed, or any other adjustable project setting. That is what makes a slide potentiometer feel useful immediately in a beginner project.
How The Code Works, Part By Part
Let's break the sketch into smaller pieces so the flow is easier to understand and easier to modify later.
Setup
The setup block starts Serial Monitor so you can watch the slider value move while testing the sensor.
Read Value
The sketch reads the analog pin connected to the slider wiper. That gives you a number that reflects the slider position.
Print Value
Printing the value makes it easier to verify the wiring and see how the number changes as the slider moves.
Repeat
The short delay keeps the output readable while the sketch continues checking the slider position.
Wrapping Up
The slide potentiometer is a simple but powerful input part when you want a smooth linear control. It turns a hand movement into a voltage change, which is one of the most practical analog ideas to learn early.
Once you understand the voltage divider idea, the analog range, and the center signal pin, you can use it confidently in sliders, faders, and live control interfaces. The behavior is easy to see, so it is also easy to debug when something is wired wrong.