This article is a guide about the Pushbutton. We will explain what it does, how it works, how to wire it, and how to read it from Arduino code.
Pushbuttons are useful when a project needs a quick user action such as starting, stopping, confirming, or toggling something in the sketch.
Description
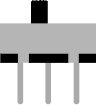
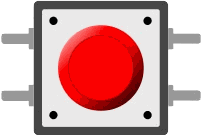
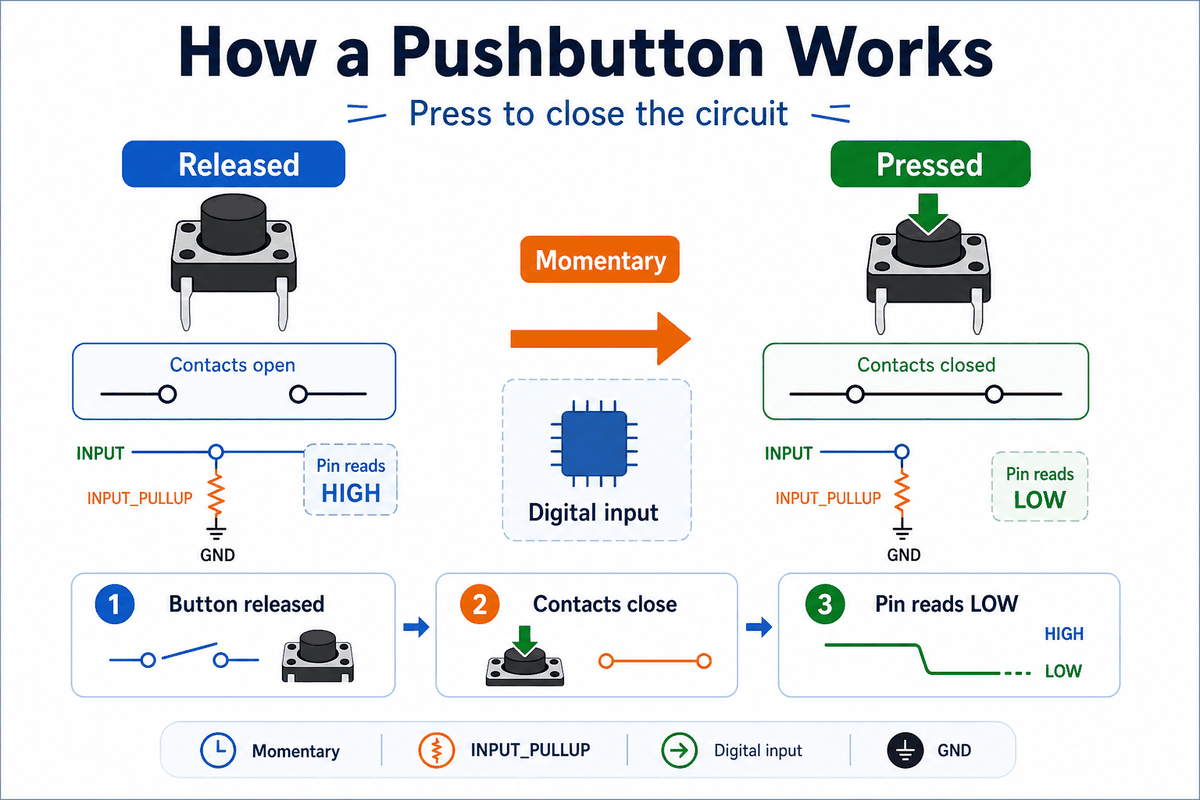
The pushbutton is a momentary switch. When you press it, the internal contacts close. When you release it, the contacts open again. That makes it one of the simplest and most common digital input parts in Arduino projects.
Because it is momentary, it behaves differently from a slide switch or DIP switch. You only get the active state while your finger is pressing the button, which makes it ideal for triggers, menus, and simple interaction patterns.
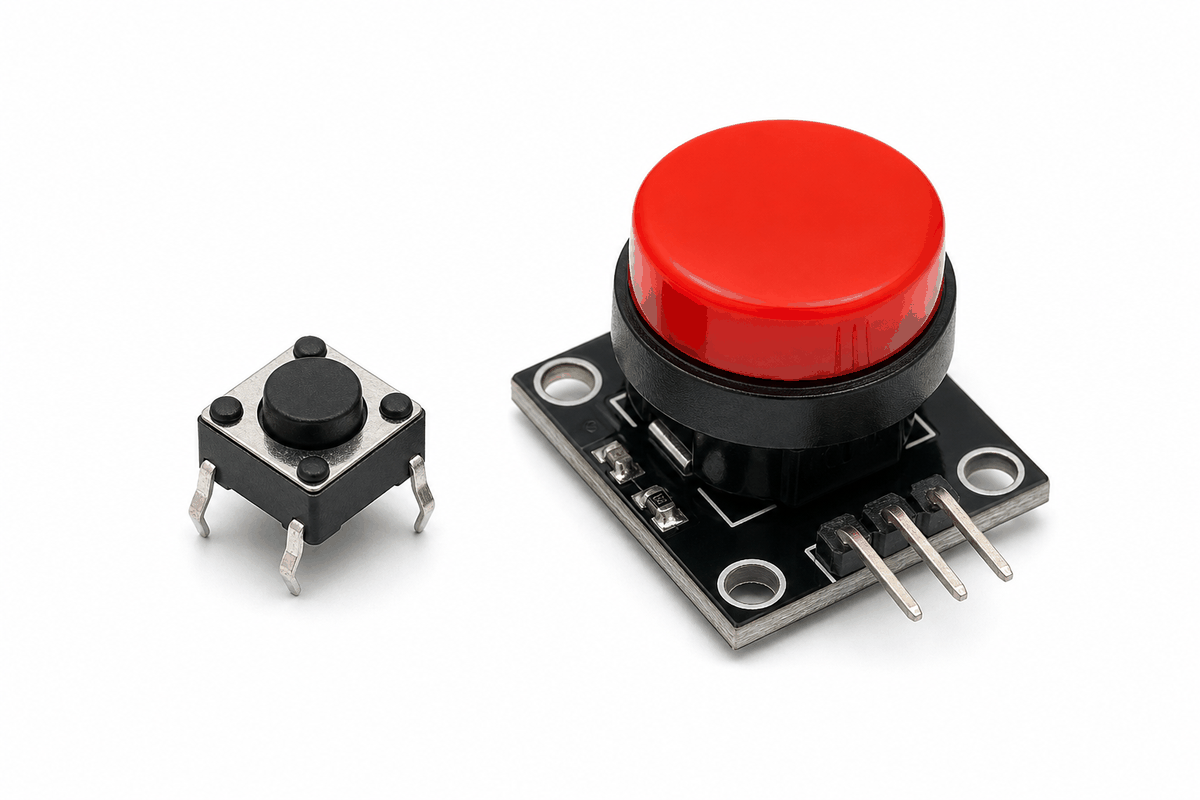
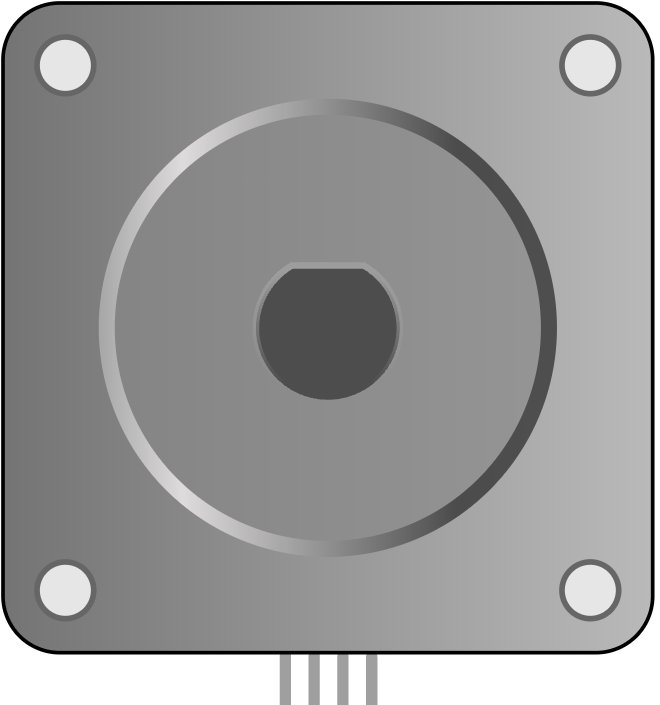
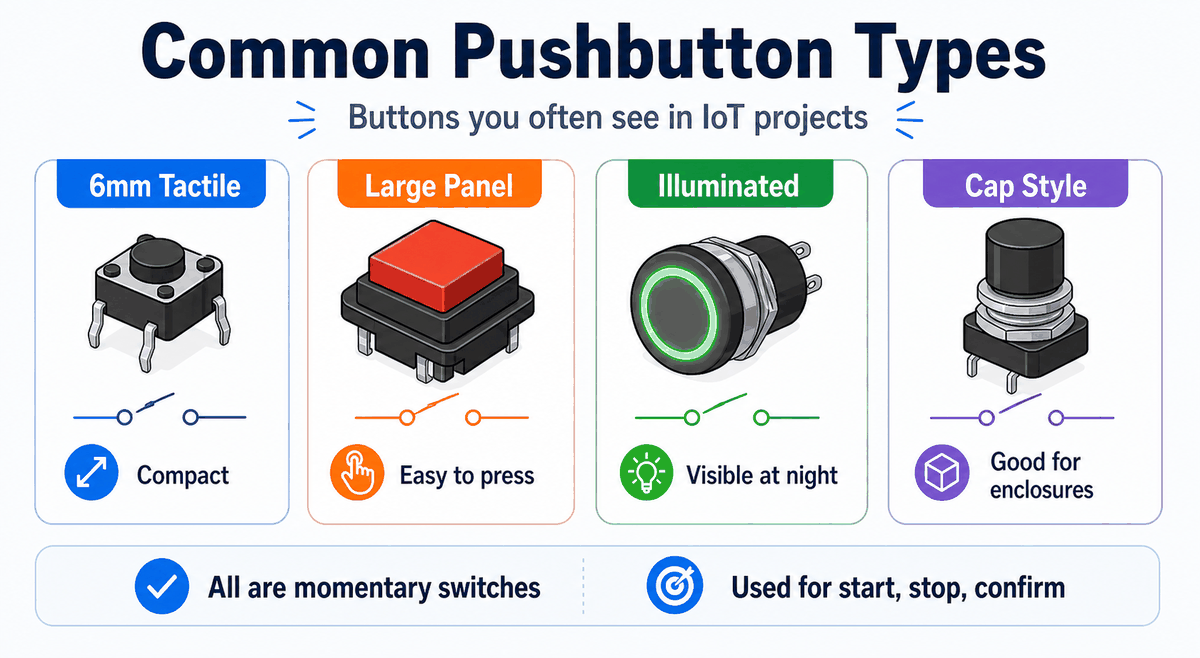
The pushbutton comes in many shapes, and the compact 6mm-style parts are common in IoT builds. That is why the same idea shows up in small tactile buttons, larger panel buttons, and illuminated button styles for enclosures.
The anatomy view helps show the two contacts inside the switch. That is the whole trick: the button only connects the two sides while it is pressed.
Features
Here are the main things to know about the Pushbutton:
| Feature | What it means |
|---|---|
| Momentary action | Only stays active while pressed. |
| Digital input | Easy to read as HIGH or LOW. |
| Two-contact switch | Closes a circuit when pressed. |
| Beginner friendly | Great for learning button input and control flow. |
| Very common | Used in menus, resets, confirms, and start buttons. |
| Pull-up support | Works cleanly with INPUT_PULLUP. |
| Fast response | Changes state instantly when the button moves. |
The important part is that the button gives the sketch a clean press event without any analog reading. That keeps the code short and makes the result easy to test on the first try.
How Does It Work?
Inside the pushbutton are two contacts. When the button is pressed, the contacts touch and complete the circuit. When the button is released, the contacts separate and the circuit opens again.
The Arduino reads that change as a digital state. With a pull-up resistor, the pin reads one way while the button is released and the opposite way while the button is pressed.
That is why pushbuttons are often used for direct user input. A small press can trigger a large action in the sketch, like starting a program, changing a mode, or blinking an LED.
Momentary Behavior
The button only stays active while it is pressed, so the sketch can react to a short user action instead of a permanent switch state.
Active Low Logic
Many Arduino examples wire the button to ground and use INPUT_PULLUP. In that setup, the pin reads LOW when pressed and HIGH when released.
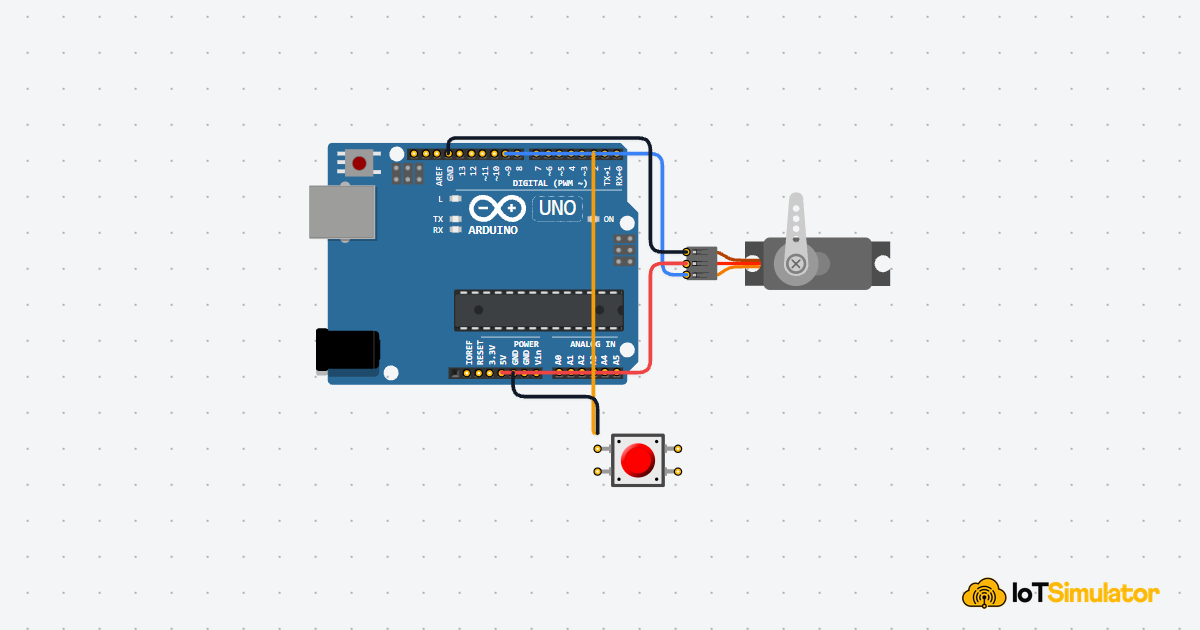
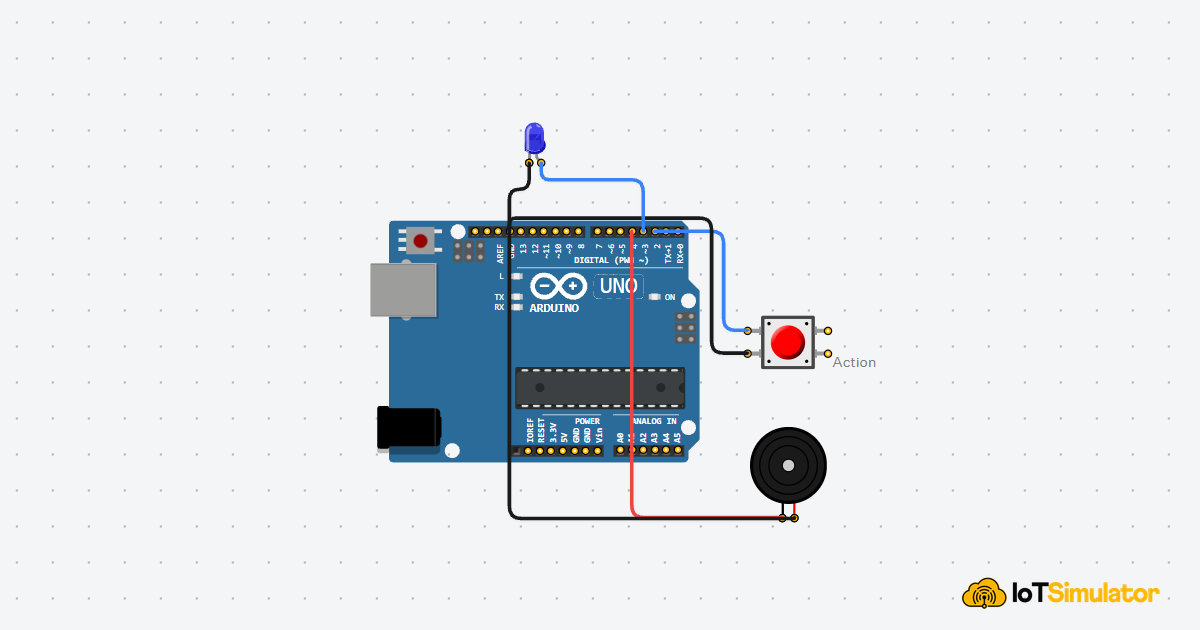
Arduino With Pushbutton
This circuit preview shows a pushbutton connected to an Arduino Uno with a simple LED response. It is a good starting point because the button gives a direct digital signal and the LED makes the reaction easy to see.

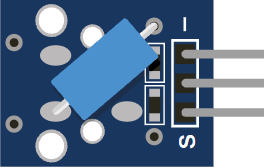
Pin Connection
The pin connection below matches the circuit preview. One side of the switch goes to the Arduino input, and the other side goes to ground so INPUT_PULLUP can handle the rest.
Sends the button state to the Arduino input pin.
Closes the circuit to ground when the button is pressed.
Because the button is digital, you do not need analog pins or special conversion math. That makes the wiring and the code approachable for beginners. If your project also uses an LED or relay, the button can trigger that part directly.
Code
This example reads the button and prints whether it is pressed or released. It is a very common first test for a momentary input.
Once that works, you can use the button to start a timer, toggle a mode, or trigger any action in your project.
How The Code Works, Part By Part
Let's break the sketch into smaller pieces so the button flow is easier to understand and modify later.
Setup
The setup block starts Serial Monitor and configures the input with the internal pull-up resistor. That keeps the reading stable without needing extra parts in a simple circuit.
Read State
The sketch reads the pin as a digital value. This gives a clean pressed or released state, which is exactly what you want for a momentary button.
Check Press
The code decides what to print based on whether the button is currently pressed. That makes it easy to connect the button to a real action later, like starting a relay, changing a menu, or toggling an LED.
Repeat
The short delay keeps the serial output readable while the sketch continues checking the button.
Wrapping Up
The pushbutton is a simple but important input part when you want a clean momentary trigger.
Once you understand the contacts, the pull-up logic, and the pressed versus released state, you can use it confidently in menus, triggers, control projects, and simple user interfaces.
Once you understand the contacts, the pull-up logic, and the pressed versus released state, you can use it confidently in menus, triggers, control projects, and simple user interfaces. The main payoff is speed: press the button and the circuit changes right away, so mistakes are easy to spot.