This article is a guide about the IR Remote. We will explain how it works, show how it fits into an Arduino project, and walk through a simple example that reacts to remote button presses.
The IR Remote is useful when you want wireless input instead of a physical switch. It sends command codes through the air, so the receiver and sketch can respond without needing a direct button connection on the board.
Description
The IR Remote sends infrared button commands to a receiver. Each key press becomes a coded message that the receiver module can decode and pass to the Arduino sketch.
That makes the remote a practical input tool for menu control, LED toggles, home-automation demos, and any project where a user should control the board from a short distance without touching it.
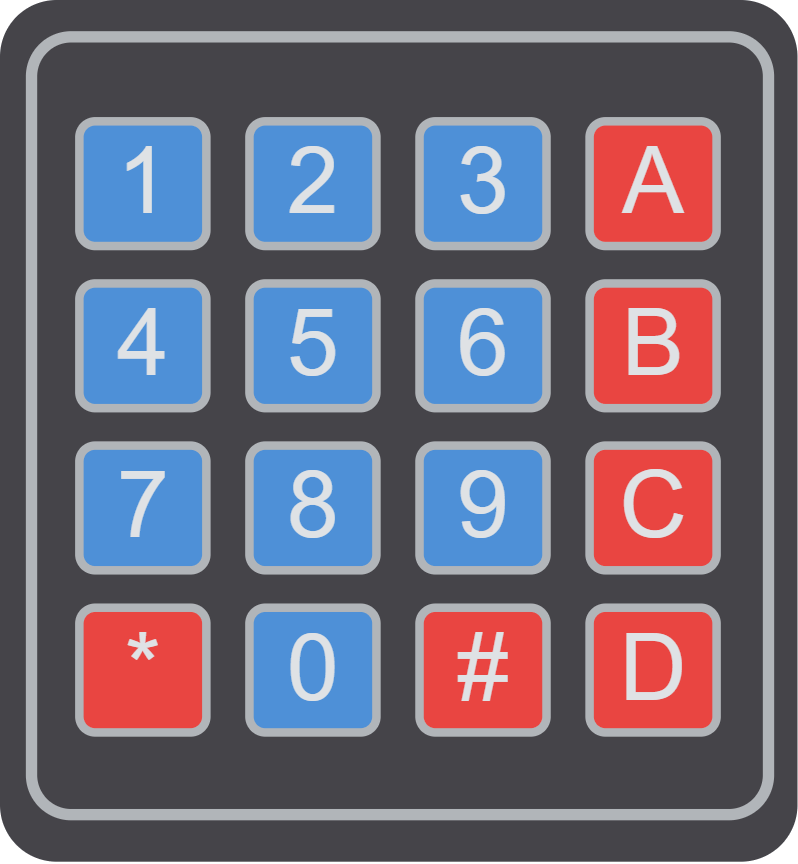
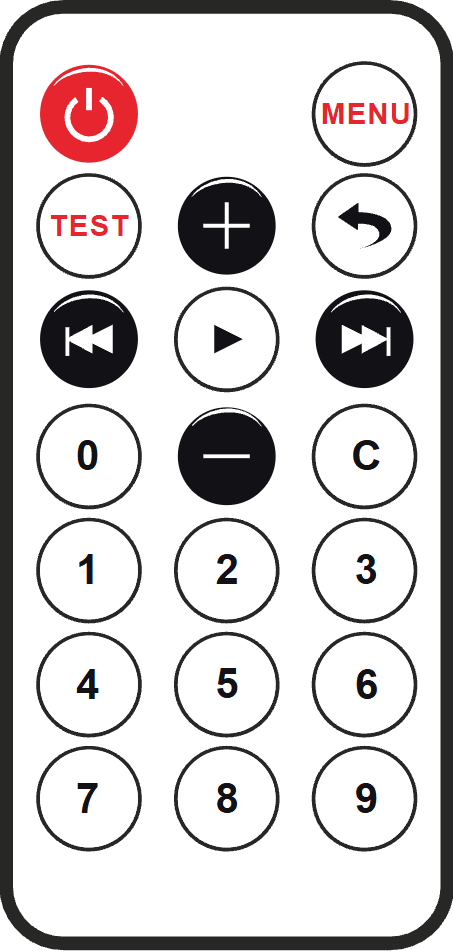
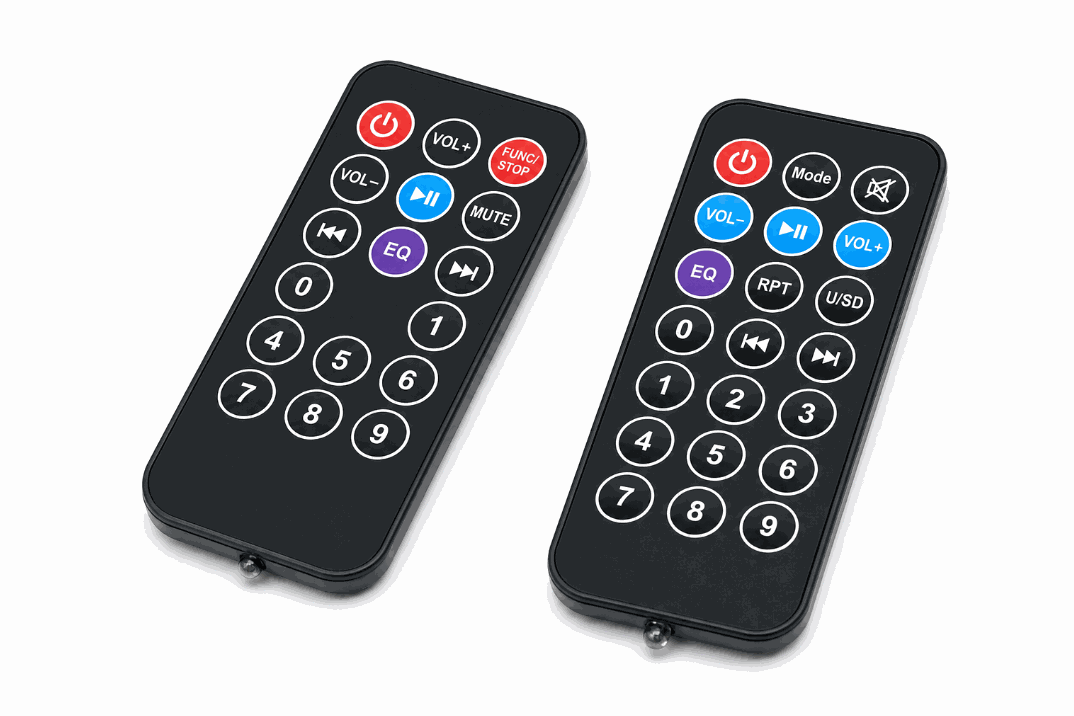
There is also no single official button layout for every IR remote used in Arduino projects. People often buy a kit remote, build their own button board, or use the remote shell inside a simulator, then map each button code manually in the sketch.
The IR Remote and IR Receiver work as a pair. If you want the full signal path, read the IR Receiver article too so you can see how the command turns into an Arduino input.
Features
Here are the main things to know about the IR Remote:
| Feature | What it means |
|---|---|
| Wireless input | Sends commands without a physical wire connection. |
| NEC-style codes | Common button codes are easy to decode in Arduino sketches. |
| Flexible button layout | Different kits use different button counts and key arrangements, so the remote can fit simple or more advanced menus. |
| Pairs with a receiver | Works together with an IR receiver module. |
| Good beginner fit | Easy to test and easy to understand in the simulator. |
The useful part is that the remote gives the Arduino a simple wireless input method that feels more natural than a fixed button on the breadboard.
How Does It Work?
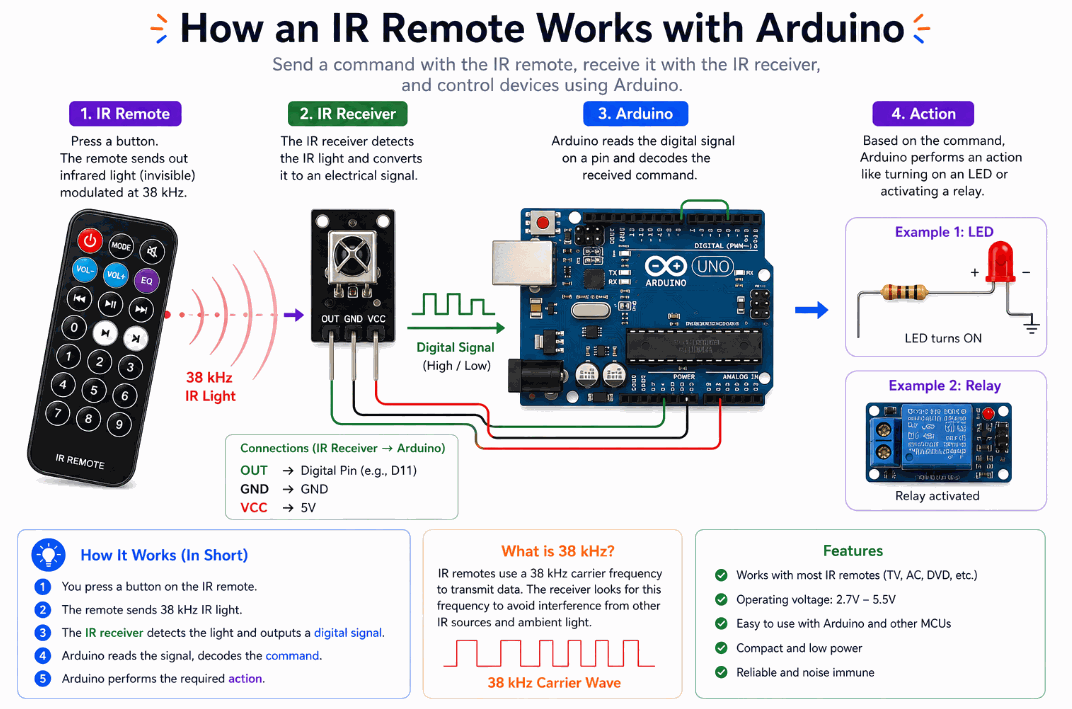
When you press a button on the remote, it sends a burst of infrared light at a carrier frequency around 38 kHz. The button does not send a simple ON signal. It sends a coded pattern, and that pattern is what tells the receiver which key you pressed.
In the image, the remote is the sender at the left side of the flow. The IR beam travels through the air, not through wires, so the receiver module on the other side has to catch the light, filter it, and turn it into a clean digital command. That is why the remote feels like a wireless input tool instead of just a tiny flashlight.
In the simulator, the remote is especially helpful because you can click buttons and immediately see how the receiver-side code responds. It makes the whole path easier to understand: press a key, send the code, let the receiver decode it, and let Arduino decide what action to take.
Arduino With IR Remote
The IR Remote itself does not need pins in the simulator. It is a wireless control device. To use it in a project, place it alongside an IR receiver module and connect the receiver to the Arduino.

Pin Connection
So for wiring, think of the remote as the sender and the receiver as the actual wired part. The sketch listens on the receiver pin, but the remote is what the user presses to trigger the command.
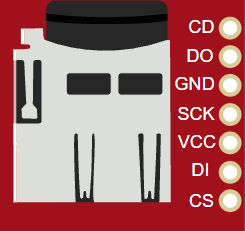
The receiver usually uses three wires: VCC to power, GND to ground, and OUT to a digital pin such as D2. That single output line is enough because the decoding happens inside the receiver module and the IR library on the Arduino side.
Powers the receiver module so it can detect and filter infrared signals.
Gives the receiver and Arduino the same electrical reference.
Sends the decoded command as a digital signal that the sketch can read.
Code
This example shows how an Arduino can react to remote commands by reading the IR receiver and turning an LED on or off.
In this example, pressing one remote key sends a command that the Arduino can recognize. You can replace the LED toggle with a relay, buzzer, menu selection, or any other action your project needs.
How The Code Works, Part By Part
Let's break the sketch into smaller pieces so the flow is easier to understand and easier to modify later.
Setup
The setup block starts the serial monitor, prepares the LED, and begins listening on the IR receiver pin. This is the part that gets the sketch ready for wireless commands.
Read A Button Command
When the remote button is pressed, the receiver decodes a new command. The sketch can then inspect the code and decide what action to run.
React To The Command
This part checks whether the pressed key matches the command you want. If it does, the sketch changes the LED state.
Repeat
The loop keeps listening so the Arduino can react to more button presses. After each command, resume() prepares the receiver for the next one.
Wrapping Up
The IR Remote is a simple way to add wireless control to an Arduino project. It is easy to use, easy to test, and useful for menus, toggles, and other remote-driven actions.
Once you understand how the button press becomes a command code, the remote can replace many physical inputs in your project. With the receiver wired to Arduino and the IR library handling the decoded values, it becomes straightforward to trigger LEDs, relays, displays, or menu actions from a remote button press.
That is what makes the remote feel practical instead of gimmicky. It gives a project a cleaner user interaction without adding complicated wiring or extra input hardware.