Live project track
Smart mood lights and ambient accent lamps are everywhere — from glowing computer setups to living room lamps that shift colors with the tap of a button. Addressable LEDs make this possible: instead of running dozens of separate wires to every light, hundreds of LEDs can be chained together and controlled over a single digital pin.
In this project, you will build an interactive ambient lamp using an ESP32-C3 microcontroller, a 16-LED WS2812B NeoPixel ring, a rotary potentiometer, and a push button. The main idea is that the potentiometer lets you sweep through every color on the rainbow, while the button cycles through three distinct lighting effects: solid color, a rotating rainbow wave, and a gentle breathing pulse.
Choosing Colors with the HSV Color Wheel
Standard computer displays mix colors using RGB values: red, green, and blue. While RGB is great for hardware, choosing a color by manually balancing three separate numbers is unintuitive for humans. Instead, smart lighting uses the HSV model: Hue (what color it is), Saturation (how vivid it is), and Value (how bright it is).
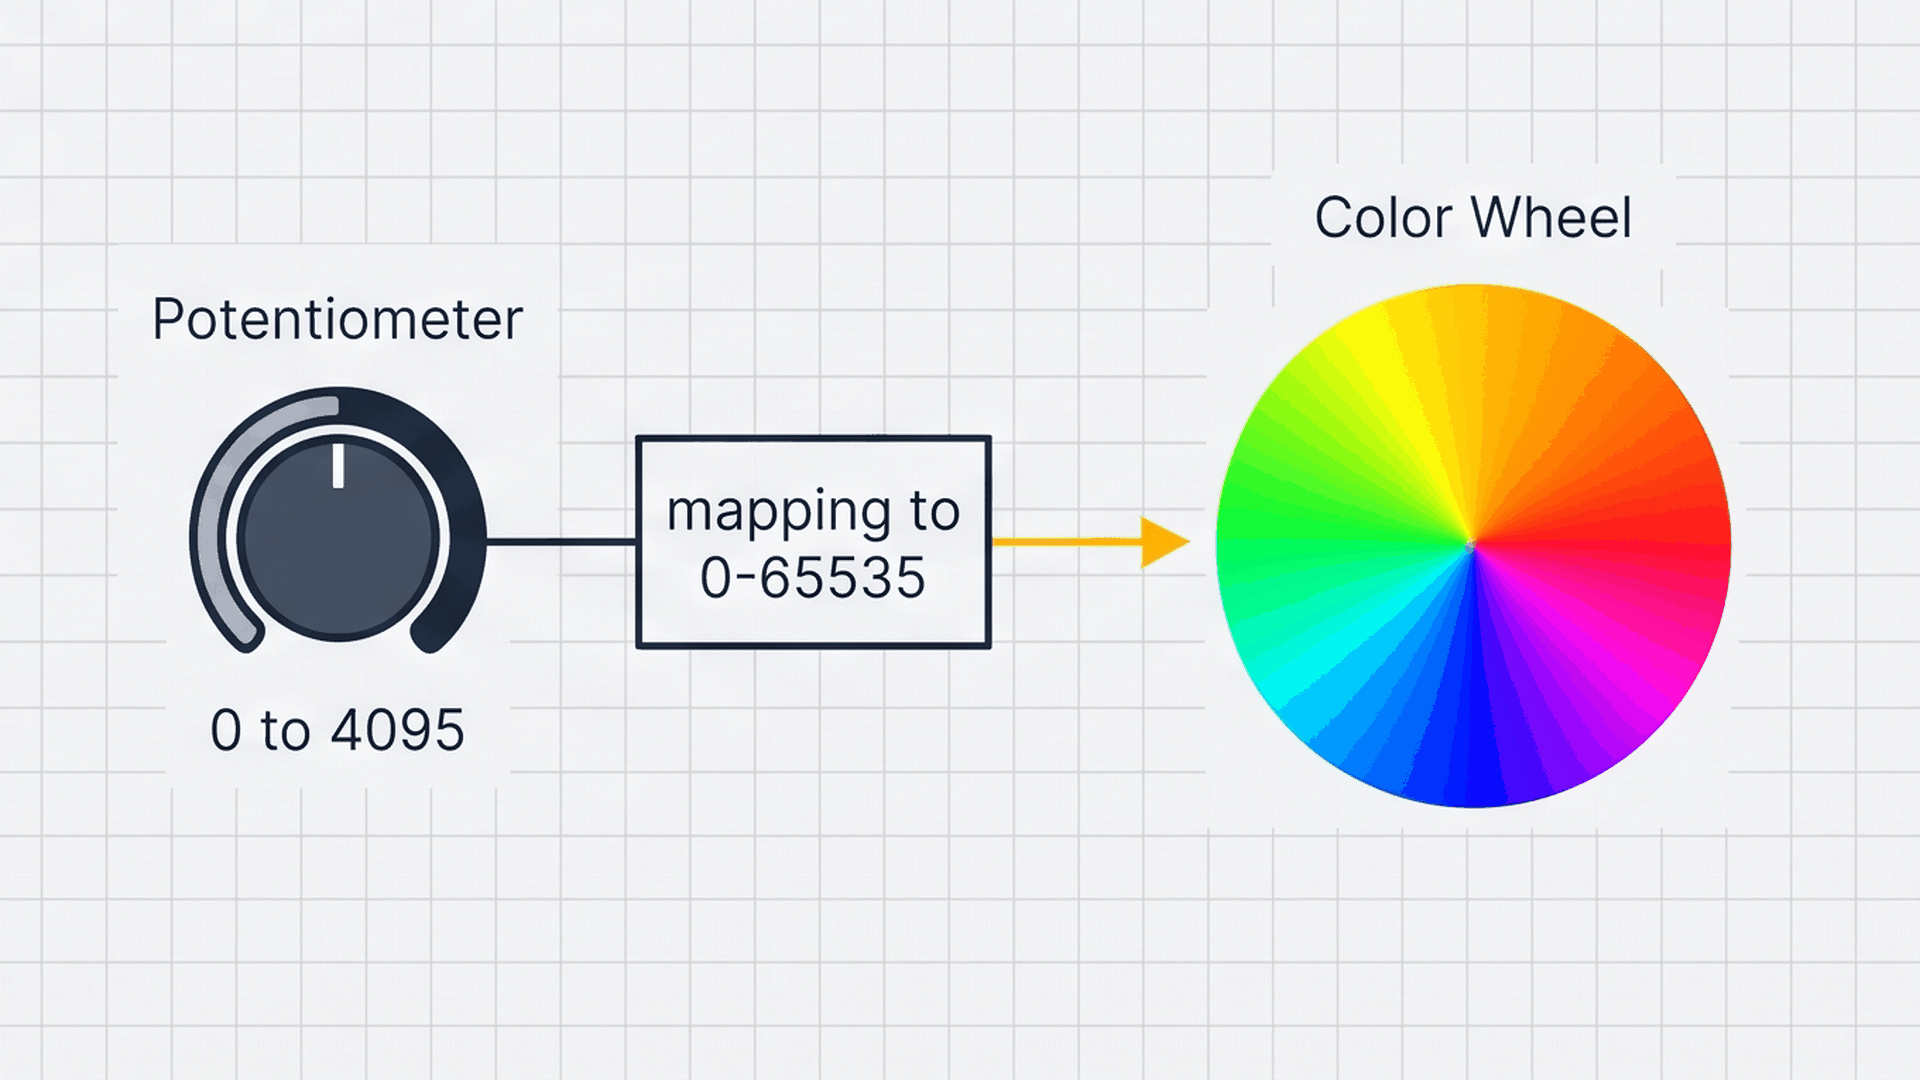
The diagram above illustrates how the potentiometer dial controls color. In the Adafruit NeoPixel library, Hue is represented as an angle on a circle mapped into a 16-bit number from 0 to 65535. Turning the knob sweeps through all 360 degrees of the color circle smoothly without sudden color jumps.
| Knob position | Potentiometer reading | 16-Bit Hue value | Resulting color |
|---|---|---|---|
| Full counter-clockwise | 0 | 0 | Red |
| Quarter turn | ~1024 | ~16384 | Yellow / Amber |
| Halfway | ~2048 | ~32768 | Cyan / Aqua |
| Three-quarter turn | ~3072 | ~49152 | Purple / Violet |
| Full clockwise | 4095 | 65535 | Wraps back to Red |
By fixing Saturation at 255 (fully vivid) and Value at 200 (pleasing brightness), you can pick any shade on the spectrum using just one single knob input.
Switching Between Three Lighting Modes
Rather than staying locked onto one static pattern, this mood lamp includes three built-in lighting effects that you can switch between with a single push button. Each press advances the system to the next mode in a circular loop.
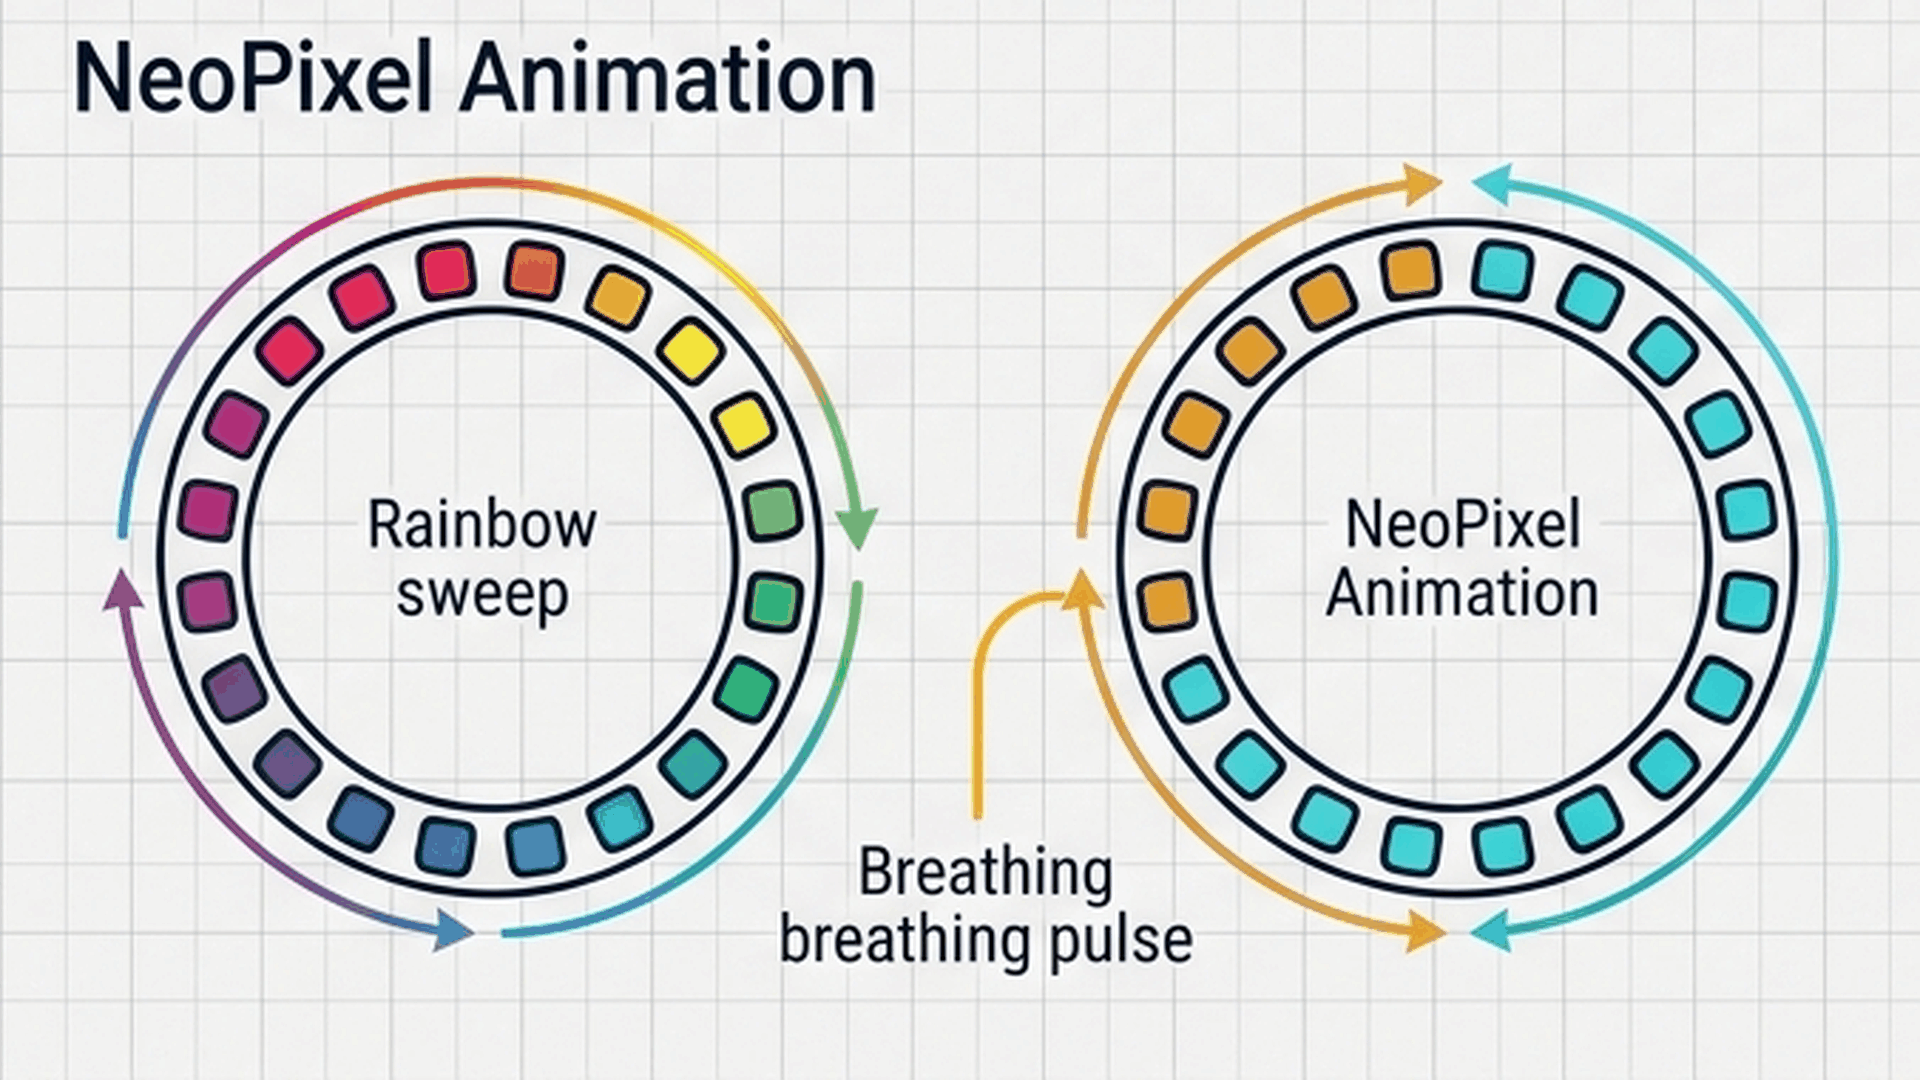
The visual above shows the three patterns rendered across the 16 circular LEDs. The system starts in Mode 0 (Solid Hue), changes to Mode 1 (Rainbow Wave) on the first click, transitions to Mode 2 (Breathing Glow) on the second click, and returns to Mode 0 on the third click.
| Mode number | Effect name | What the LEDs do | Knob role |
|---|---|---|---|
| Mode 0 | Solid Hue | All 16 LEDs light up in the exact same color | Picks the active color |
| Mode 1 | Rainbow Wave | A smooth gradient of rainbow colors wraps around the ring | Rotates the starting color |
| Mode 2 | Breathing Glow | The ring pulses up and down in brightness like a breathing rhythm | Picks the glowing color |
A short debounce delay in the code ensures that a single button press registers cleanly as one mode change, preventing mechanical contact bounce from skipping multiple modes at once.
Connecting the Circuit
A normal circuit needs 16 separate wires to control 16 lights independently. Addressable NeoPixel LEDs use a clever 'bucket brigade' trick: one single wire carries color instructions for all 16 LEDs in a continuous digital train.
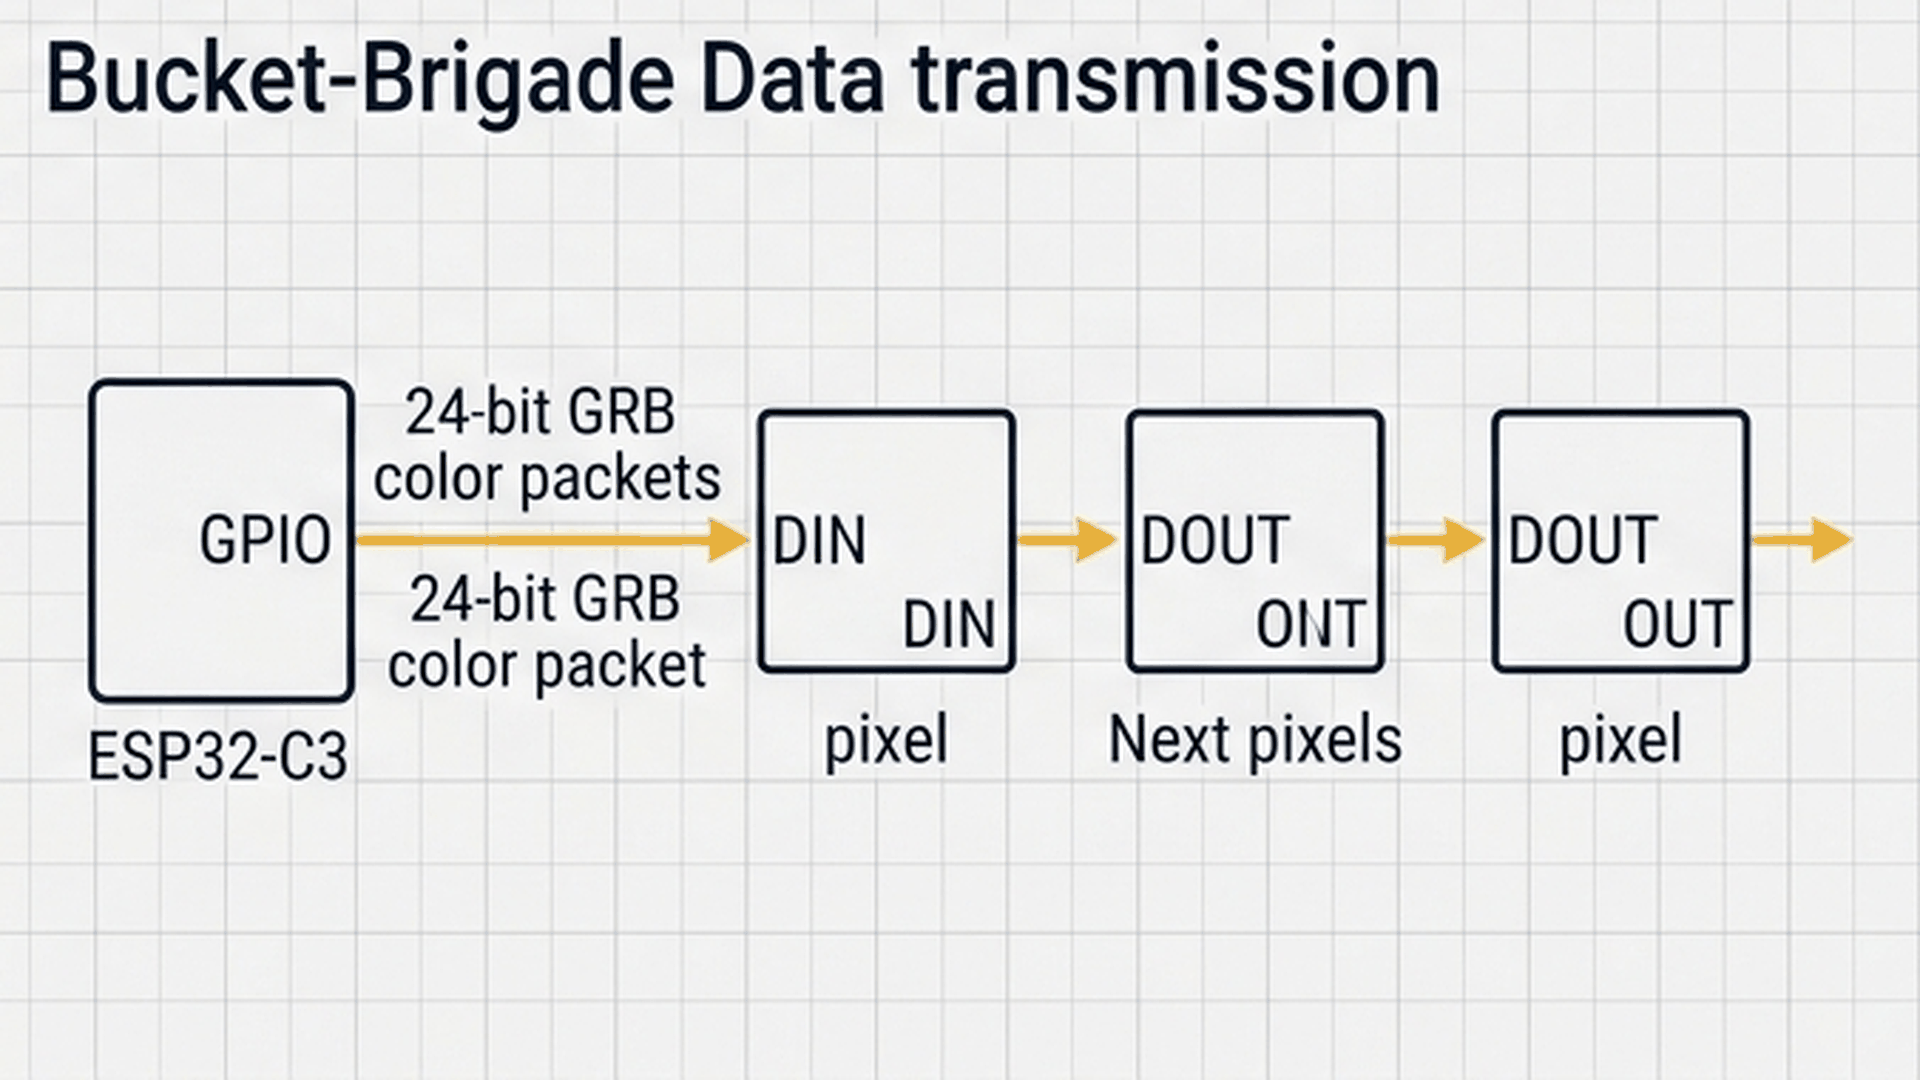
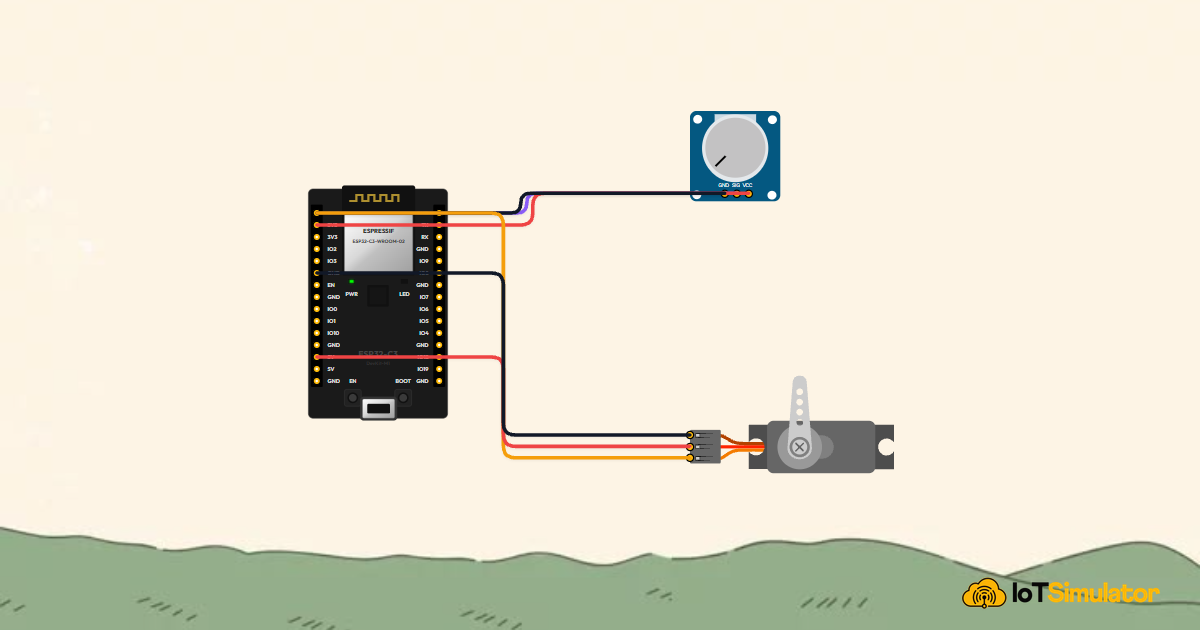
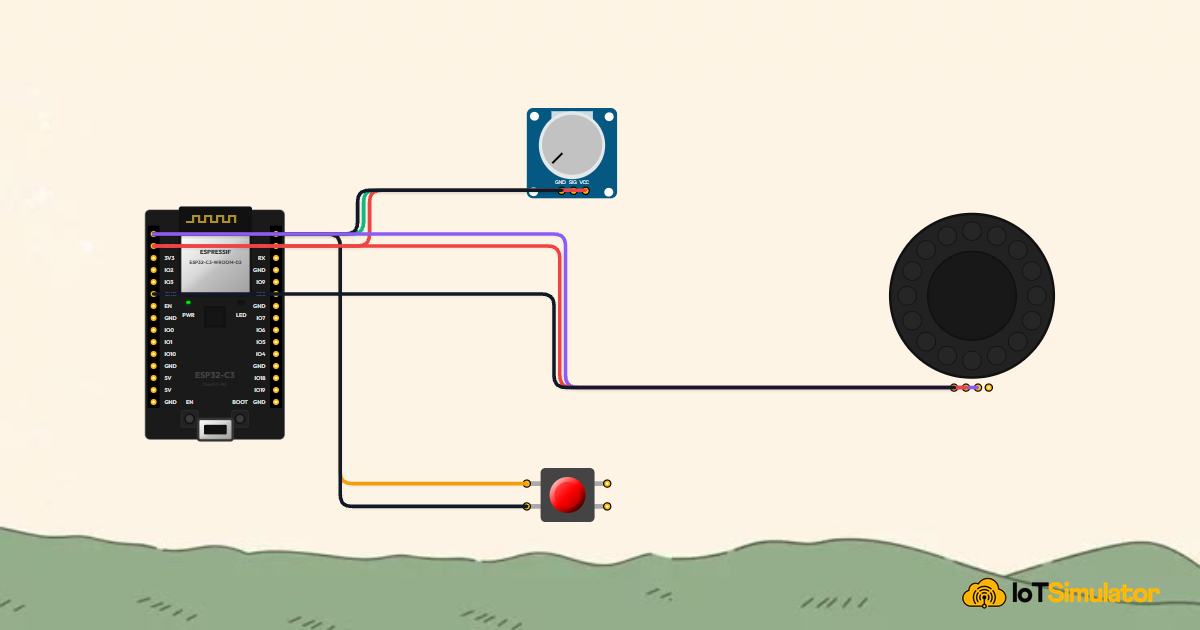
As shown in the illustration, each LED reads its color and hands the remaining data to its neighbor. Connect the potentiometer for color dialling, the button for mode changes, and the ring data pin as detailed below:
Next, connect the mode selection tactile pushbutton to GPIO 9 using the internal pull-up resistor to switch animation styles:
Finally, connect the WS2812B 16-LED addressable NeoPixel ring data input to GPIO 8 to display dynamic color patterns:
Notice that the NeoPixel data line connects strictly to DIN (Data In). If you accidentally connect your wire to DOUT (Data Out), the pixels will not receive any commands and the ring will stay dark.
Complete Code
Upload the following sketch to your ESP32-C3 DevKit. It initializes the NeoPixel ring at a safe brightness, reads the inputs, and renders the active lighting mode in real time.
// ============================================================================
// ESP32-C3 Interactive NeoPixel Mood Lamp
// Demonstrates WS2812B Addressable LED Ring, 12-Bit ADC Hue Tuning & FSM Modes
// ============================================================================

#include <Adafruit_NeoPixel.h>

#define LED_PIN   2
#define NUM_LEDS  16
Adafruit_NeoPixel strip(NUM_LEDS, LED_PIN, NEO_GRB + NEO_KHZ800);

const int POT_PIN = 0; // GPIO 0 (ADC1_CH0) - Analog Hue Control
const int BTN_PIN = 1; // GPIO 1 - Pushbutton Mode Selector

int mode = 0; // 0: Solid Hue, 1: Rainbow Cycle, 2: Breathing Glow
int lastBtn = HIGH;

void setup() {
  Serial.begin(115200);
  while (!Serial && millis() < 2000);

  pinMode(BTN_PIN, INPUT_PULLUP);

  strip.begin();
  strip.setBrightness(80);
  strip.show();

  Serial.println(F("===================================================="));
  Serial.println(F("  ESP32-C3 NeoPixel Smart Mood Lamp Ready           "));
  Serial.println(F("===================================================="));
}

void loop() {
  // 1. Mode Cycling on Pushbutton Press (Active LOW)
  int btnState = digitalRead(BTN_PIN);
  if (btnState == LOW && lastBtn == HIGH) {
    mode = (mode + 1) % 3;
    Serial.print(F(">> Switched to Mode: "));
    Serial.println(mode);
    delay(180); // Debounce
  }
  lastBtn = btnState;

  // 2. Read 12-Bit ADC (0 to 4095) and Map to 16-Bit Hue (0 to 65535)
  int potVal = analogRead(POT_PIN);
  uint16_t hue = map(potVal, 0, 4095, 0, 65535);

  // 3. Render Lighting State
  if (mode == 0) {
    // Solid Tunable Hue
    uint32_t color = strip.ColorHSV(hue, 255, 200);
    strip.fill(color);
  } else if (mode == 1) {
    // Dynamic Rainbow Spectrum Wave
    for (int i = 0; i < NUM_LEDS; i++) {
      uint32_t c = strip.ColorHSV(hue + (i * 65536L / NUM_LEDS), 255, 200);
      strip.setPixelColor(i, c);
    }
  } else {
    // Sinusoidal Breathing Glow
    static int bright = 20;
    static int dir = 4;
    bright += dir;
    if (bright <= 15 || bright >= 220) dir = -dir;
    strip.setBrightness(bright);
    strip.fill(strip.ColorHSV(hue, 255, 255));
  }

  strip.show();
  delay(40);
}
How the Code Works, Part by Part
The sketch is cleanly organized into input scanning, color math, and output rendering. Here is how each part functions.
▸ NeoPixel Library and Pin Setup
The sketch begins by importing Adafruit_NeoPixel.h and creating the strip object configured for 16 LEDs on GPIO 2.
#include <Adafruit_NeoPixel.h>

#define LED_PIN   2
#define NUM_LEDS  16
Adafruit_NeoPixel strip(NUM_LEDS, LED_PIN, NEO_GRB + NEO_KHZ800);
The NEO_GRB + NEO_KHZ800 parameter specifies the color ordering and standard 800kHz transmission speed used by WS2812B LEDs.
▸ Button Clicks and Mode Cycling
In loop(), the code watches for the button being clicked down. Because the button connects to ground, a click causes the pin to transition from HIGH to LOW.
int btnState = digitalRead(BTN_PIN);
if (btnState == LOW && lastBtn == HIGH) {
  mode = (mode + 1) % 3;
  delay(180); // Debounce
}
lastBtn = btnState;
Using the modulo operator (% 3) makes the mode number wrap automatically from 2 back to 0, creating a continuous 3-state loop.
▸ Reading the Knob and Converting to 16-Bit Hue
Next, the program reads the potentiometer. The ESP32-C3 has a 12-bit ADC that produces values from 0 to 4095. The map() function scales this into the full 0–65535 Hue circle.
int potVal = analogRead(POT_PIN);
uint16_t hue = map(potVal, 0, 4095, 0, 65535);
This single line turns physical shaft rotation directly into a rich color selector.
▸ Rendering the Three Lighting Effects
An if / else if / else block draws the selected mode. In Mode 0, strip.fill() colors every LED identically. In Mode 1, a loop offsets the hue slightly for each pixel to create the rainbow gradient.
if (mode == 0) {
  uint32_t color = strip.ColorHSV(hue, 255, 200);
  strip.fill(color);
} else if (mode == 1) {
  for (int i = 0; i < NUM_LEDS; i++) {
    uint32_t c = strip.ColorHSV(hue + (i * 65536L / NUM_LEDS), 255, 200);
    strip.setPixelColor(i, c);
  }
}
In Mode 2, the brightness value bounces smoothly up and down between 15 and 220 to create the rhythmic breathing effect before strip.show() pushes the frame to the LEDs.
Fixing Common Problems
If the LEDs flicker or show random colors, consult the troubleshooting checklist below.
| What you see | Likely cause | What to try |
|---|---|---|
| LEDs show random flashing colors | Loose ground wire between NeoPixel ring and board | Verify the ring GND wire is firmly connected to the ESP32-C3 ground pin |
| Ring stays completely unlit | Data wire plugged into DOUT instead of DIN | Check that GPIO 2 connects to the DIN solder pad on the ring |
| Button press skips two modes at once | Contact chatter during button press | Increase the debounce delay in code from 180 to 220 ms |
| Colors look washed out or too pale | Saturation parameter set too low | Ensure the second argument in strip.ColorHSV(hue, 255, val) is set to 255 |
The most common issue with addressable LEDs is a shared ground connection. Because the signal pulses run at 800kHz, the data line needs a clean, shared ground reference to distinguish between 1s and 0s reliably.
Try It in the Simulator
Click the Start Simulation (▶) button in the top toolbar to begin. The NeoPixel ring will turn on in Mode 0 with a solid color. Turn the Potentiometer dial to watch the color sweep smoothly across the rainbow. Click the Pushbutton to switch to Mode 1 and see the circular rainbow wave, then click again for the breathing glow!